Create Your Workspace
Sign up for AccessFuel and set up your organization workspace
Create Your Workspace
Your workspace is your organization's home in AccessFuel. It is where your data, dashboards, team members, and AI conversations all live. Every team member you invite will share the same workspace, so everyone works from the same set of data and insights.
Step-by-Step Setup
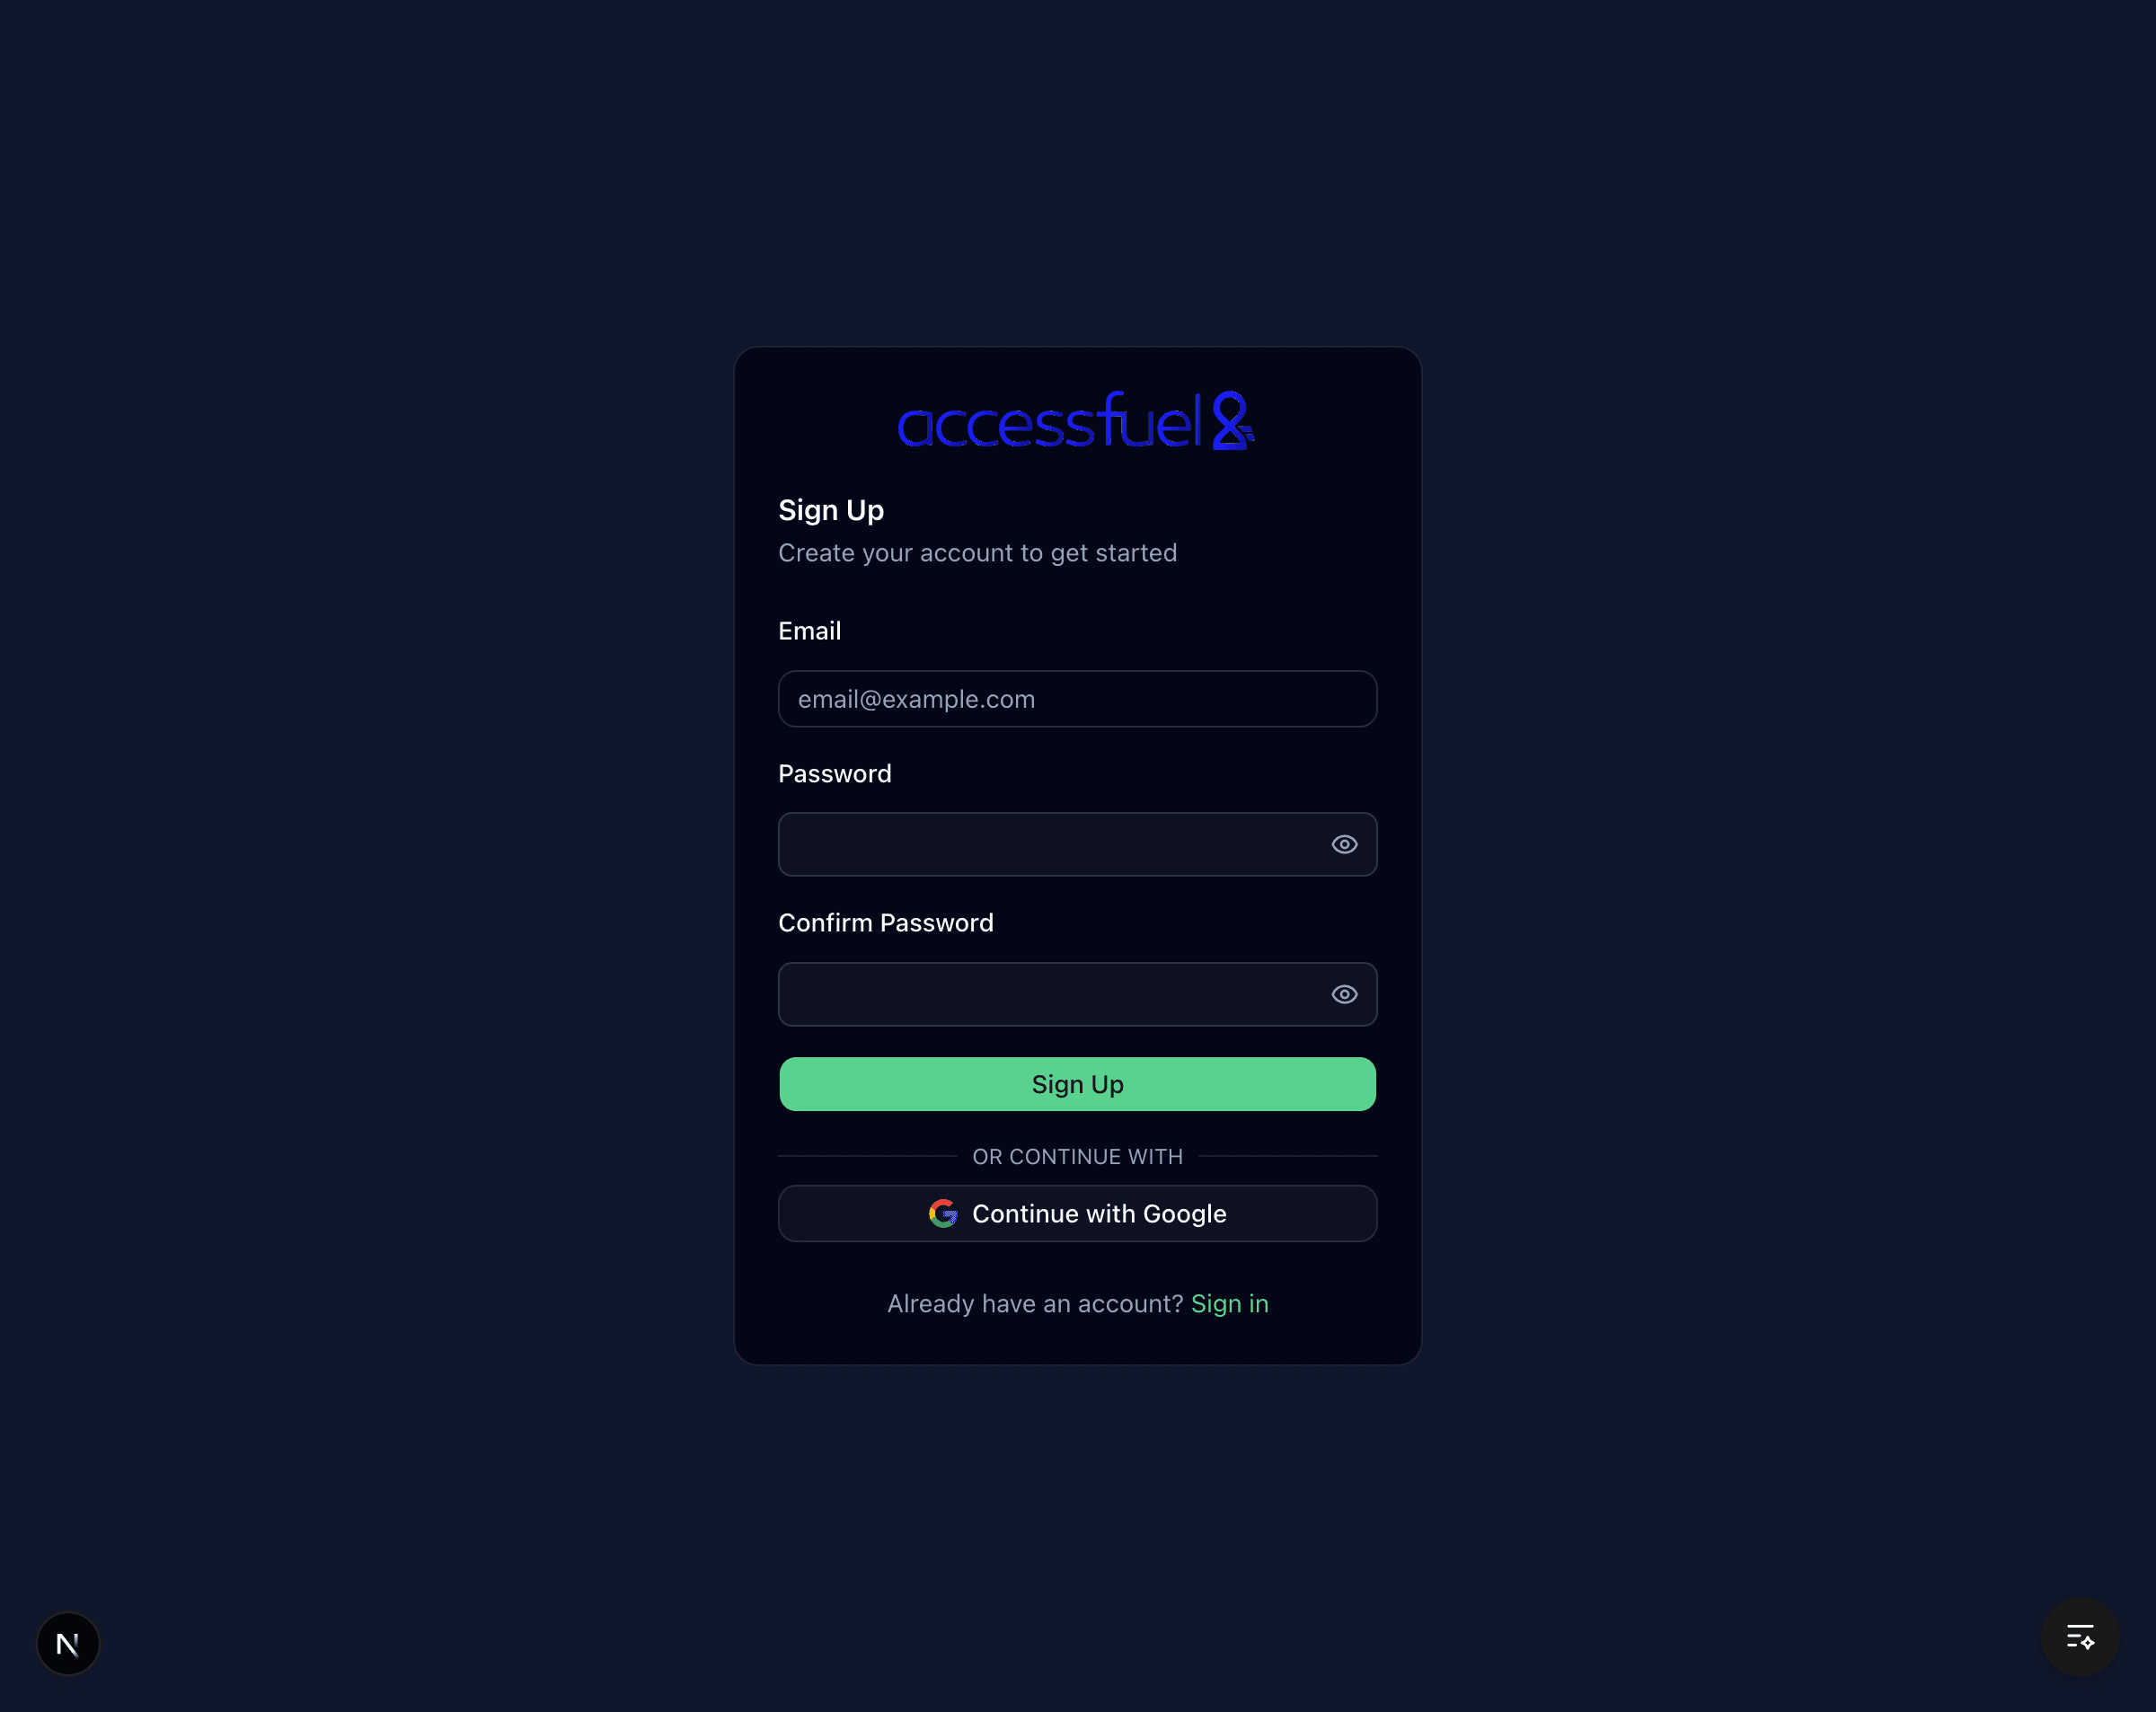
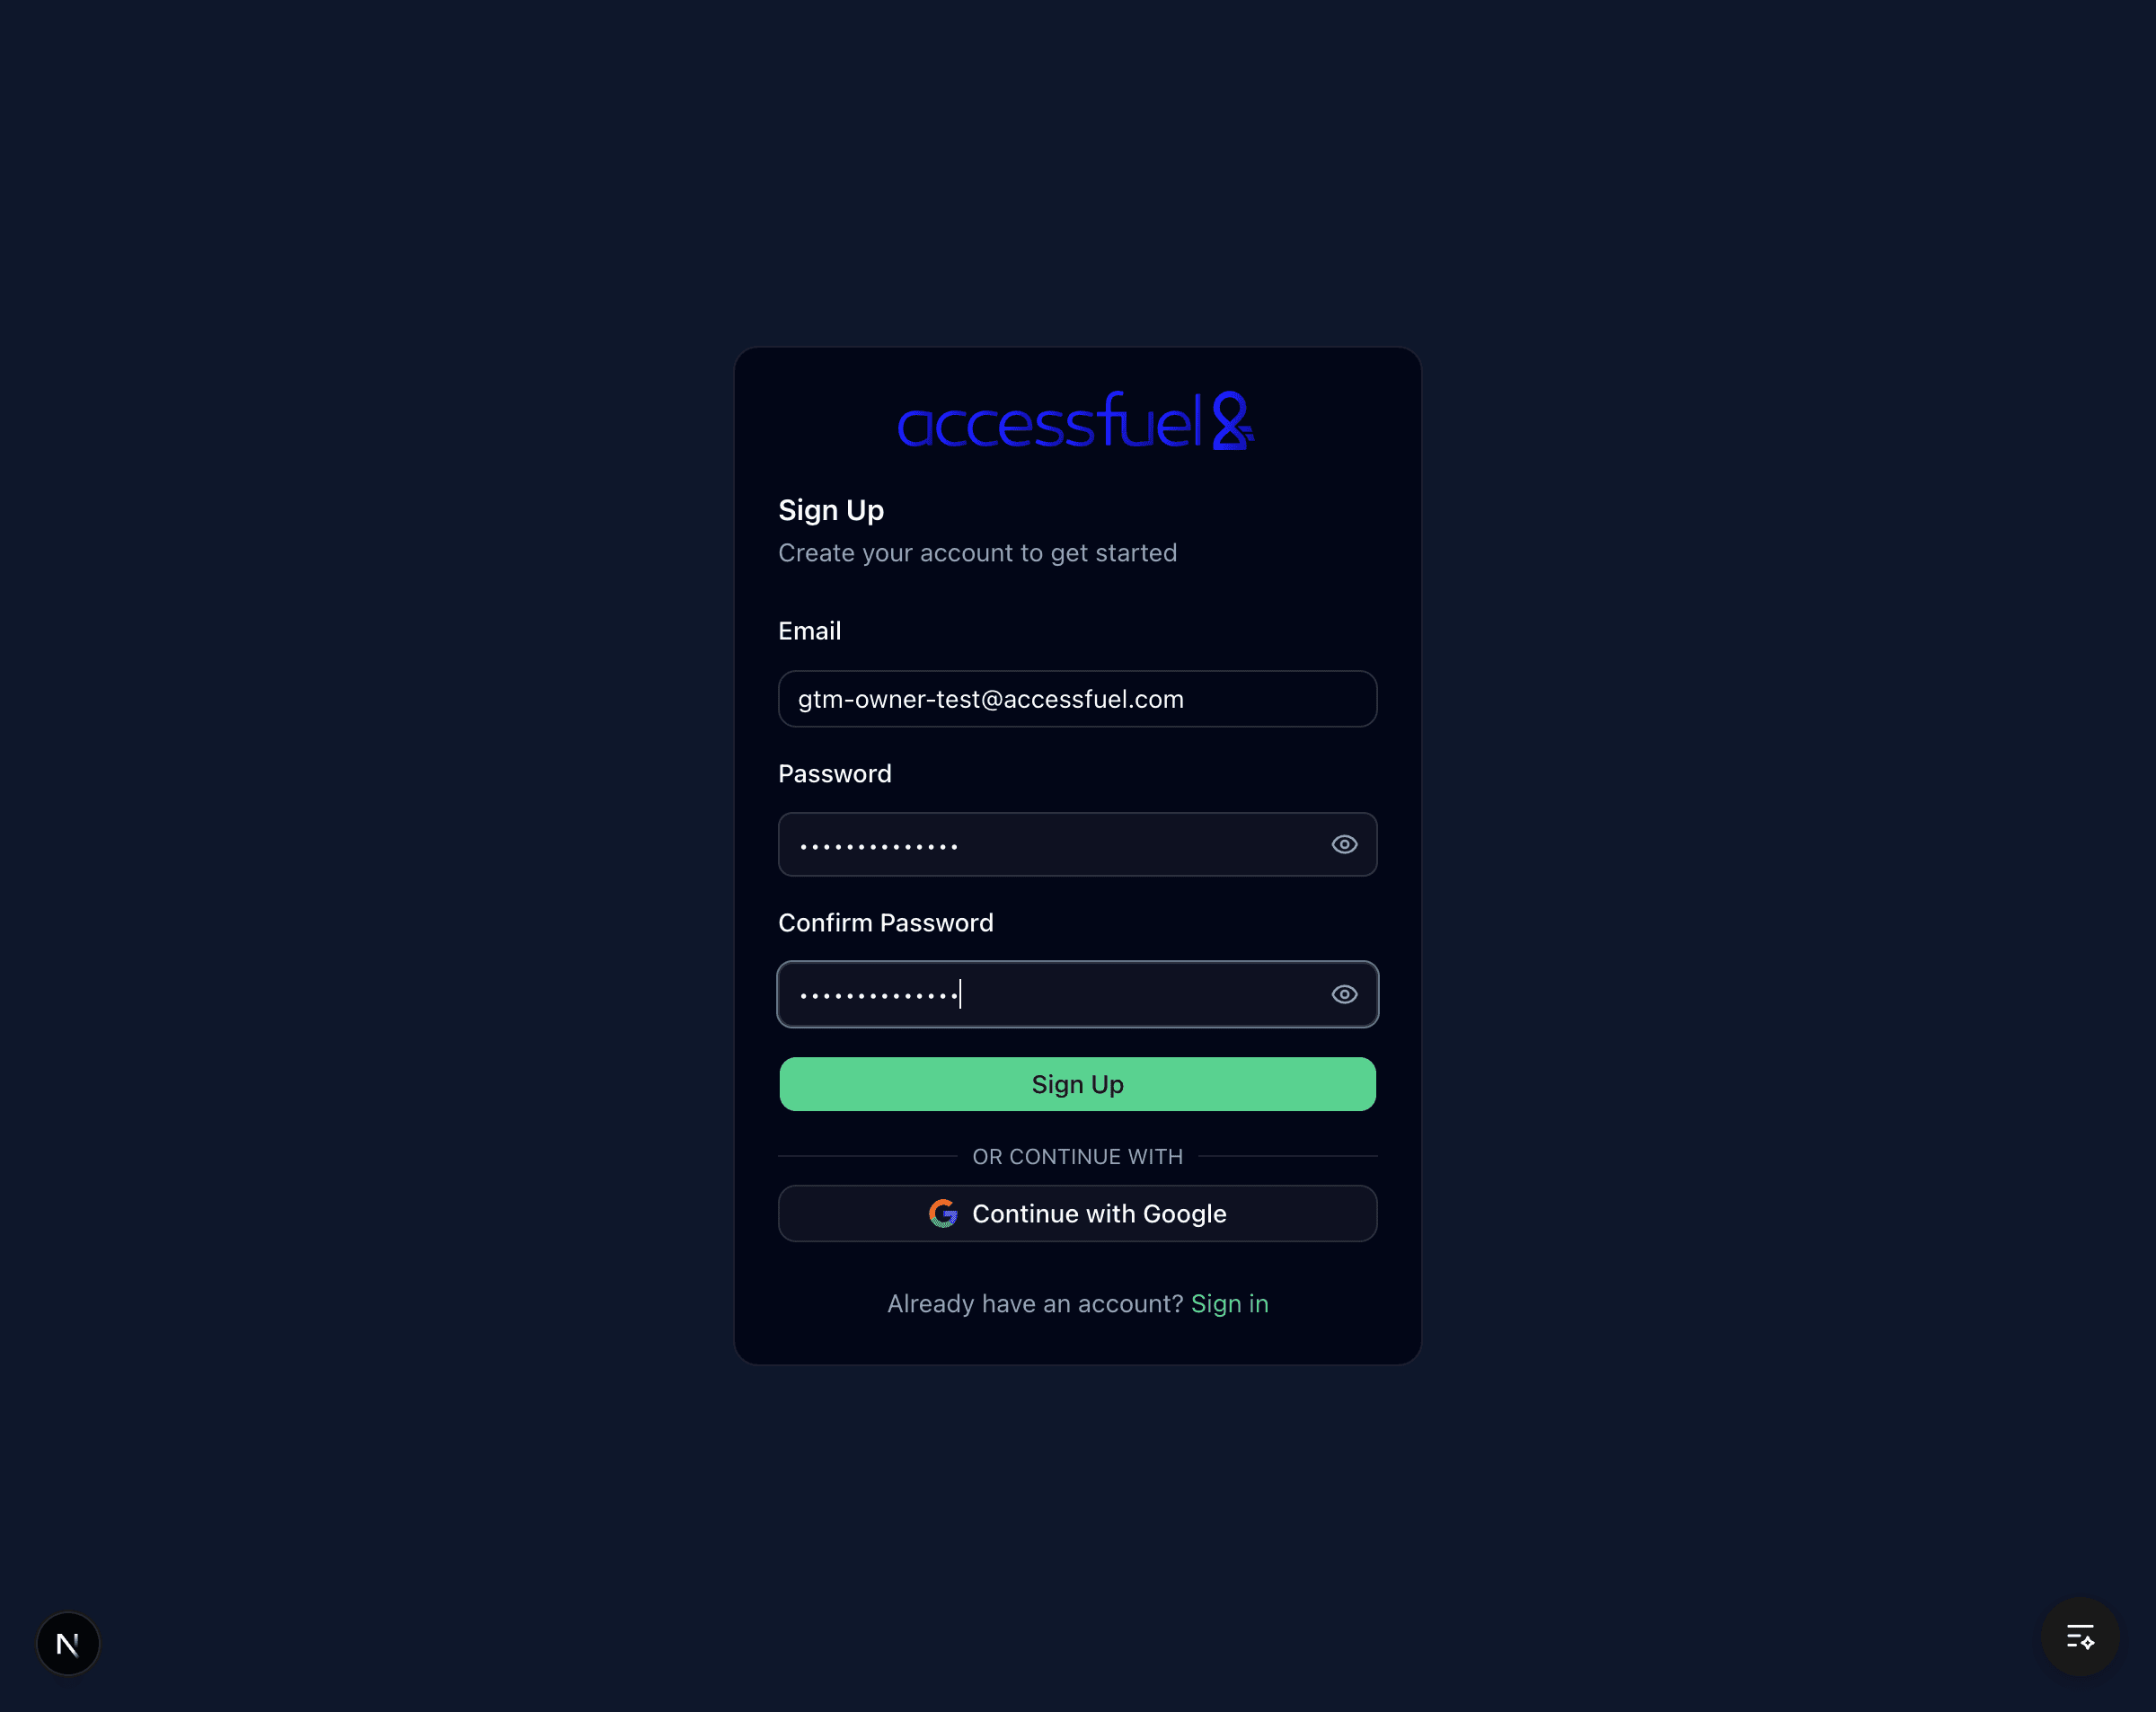
Step 1: Sign Up
- Go to app.accessfuel.com and click Sign Up
- Enter your email address and choose a password
- Confirm your password and click Create Account
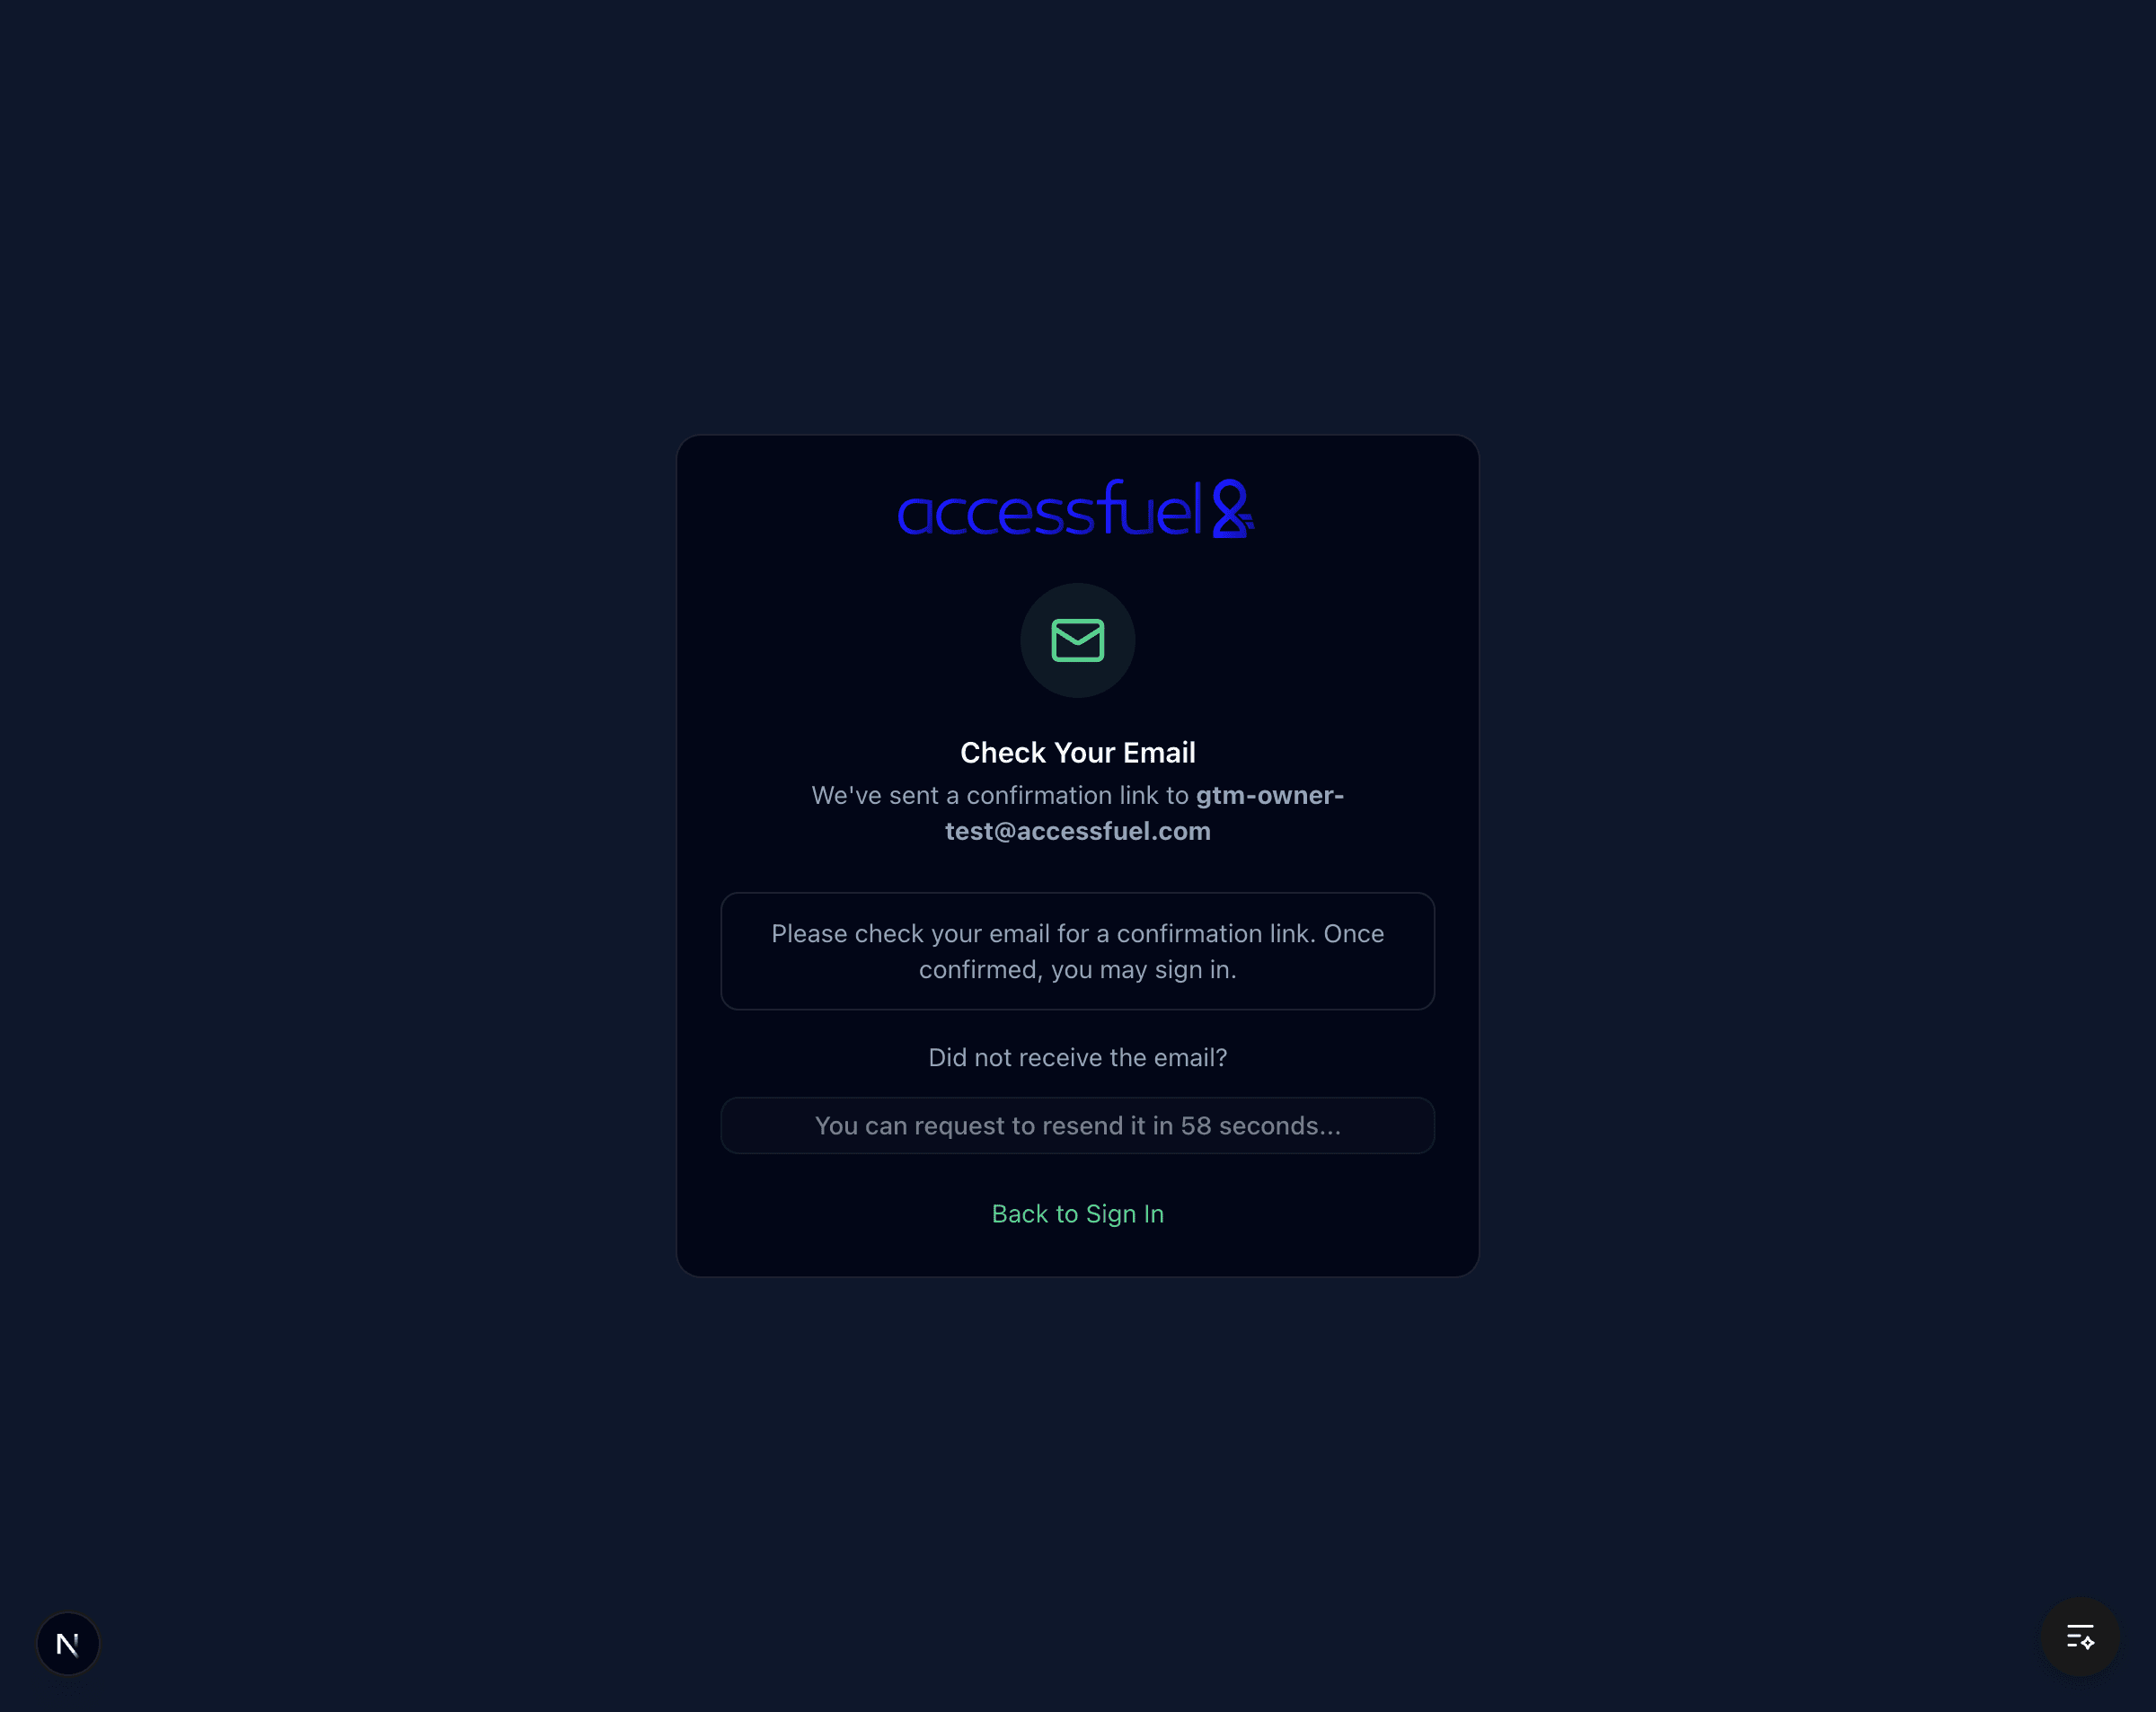
Step 2: Verify Your Email
After signing up, you will see a confirmation page asking you to check your inbox.
- Open the verification email from AccessFuel
- Click the verification link
- You will be redirected to the sign-in page
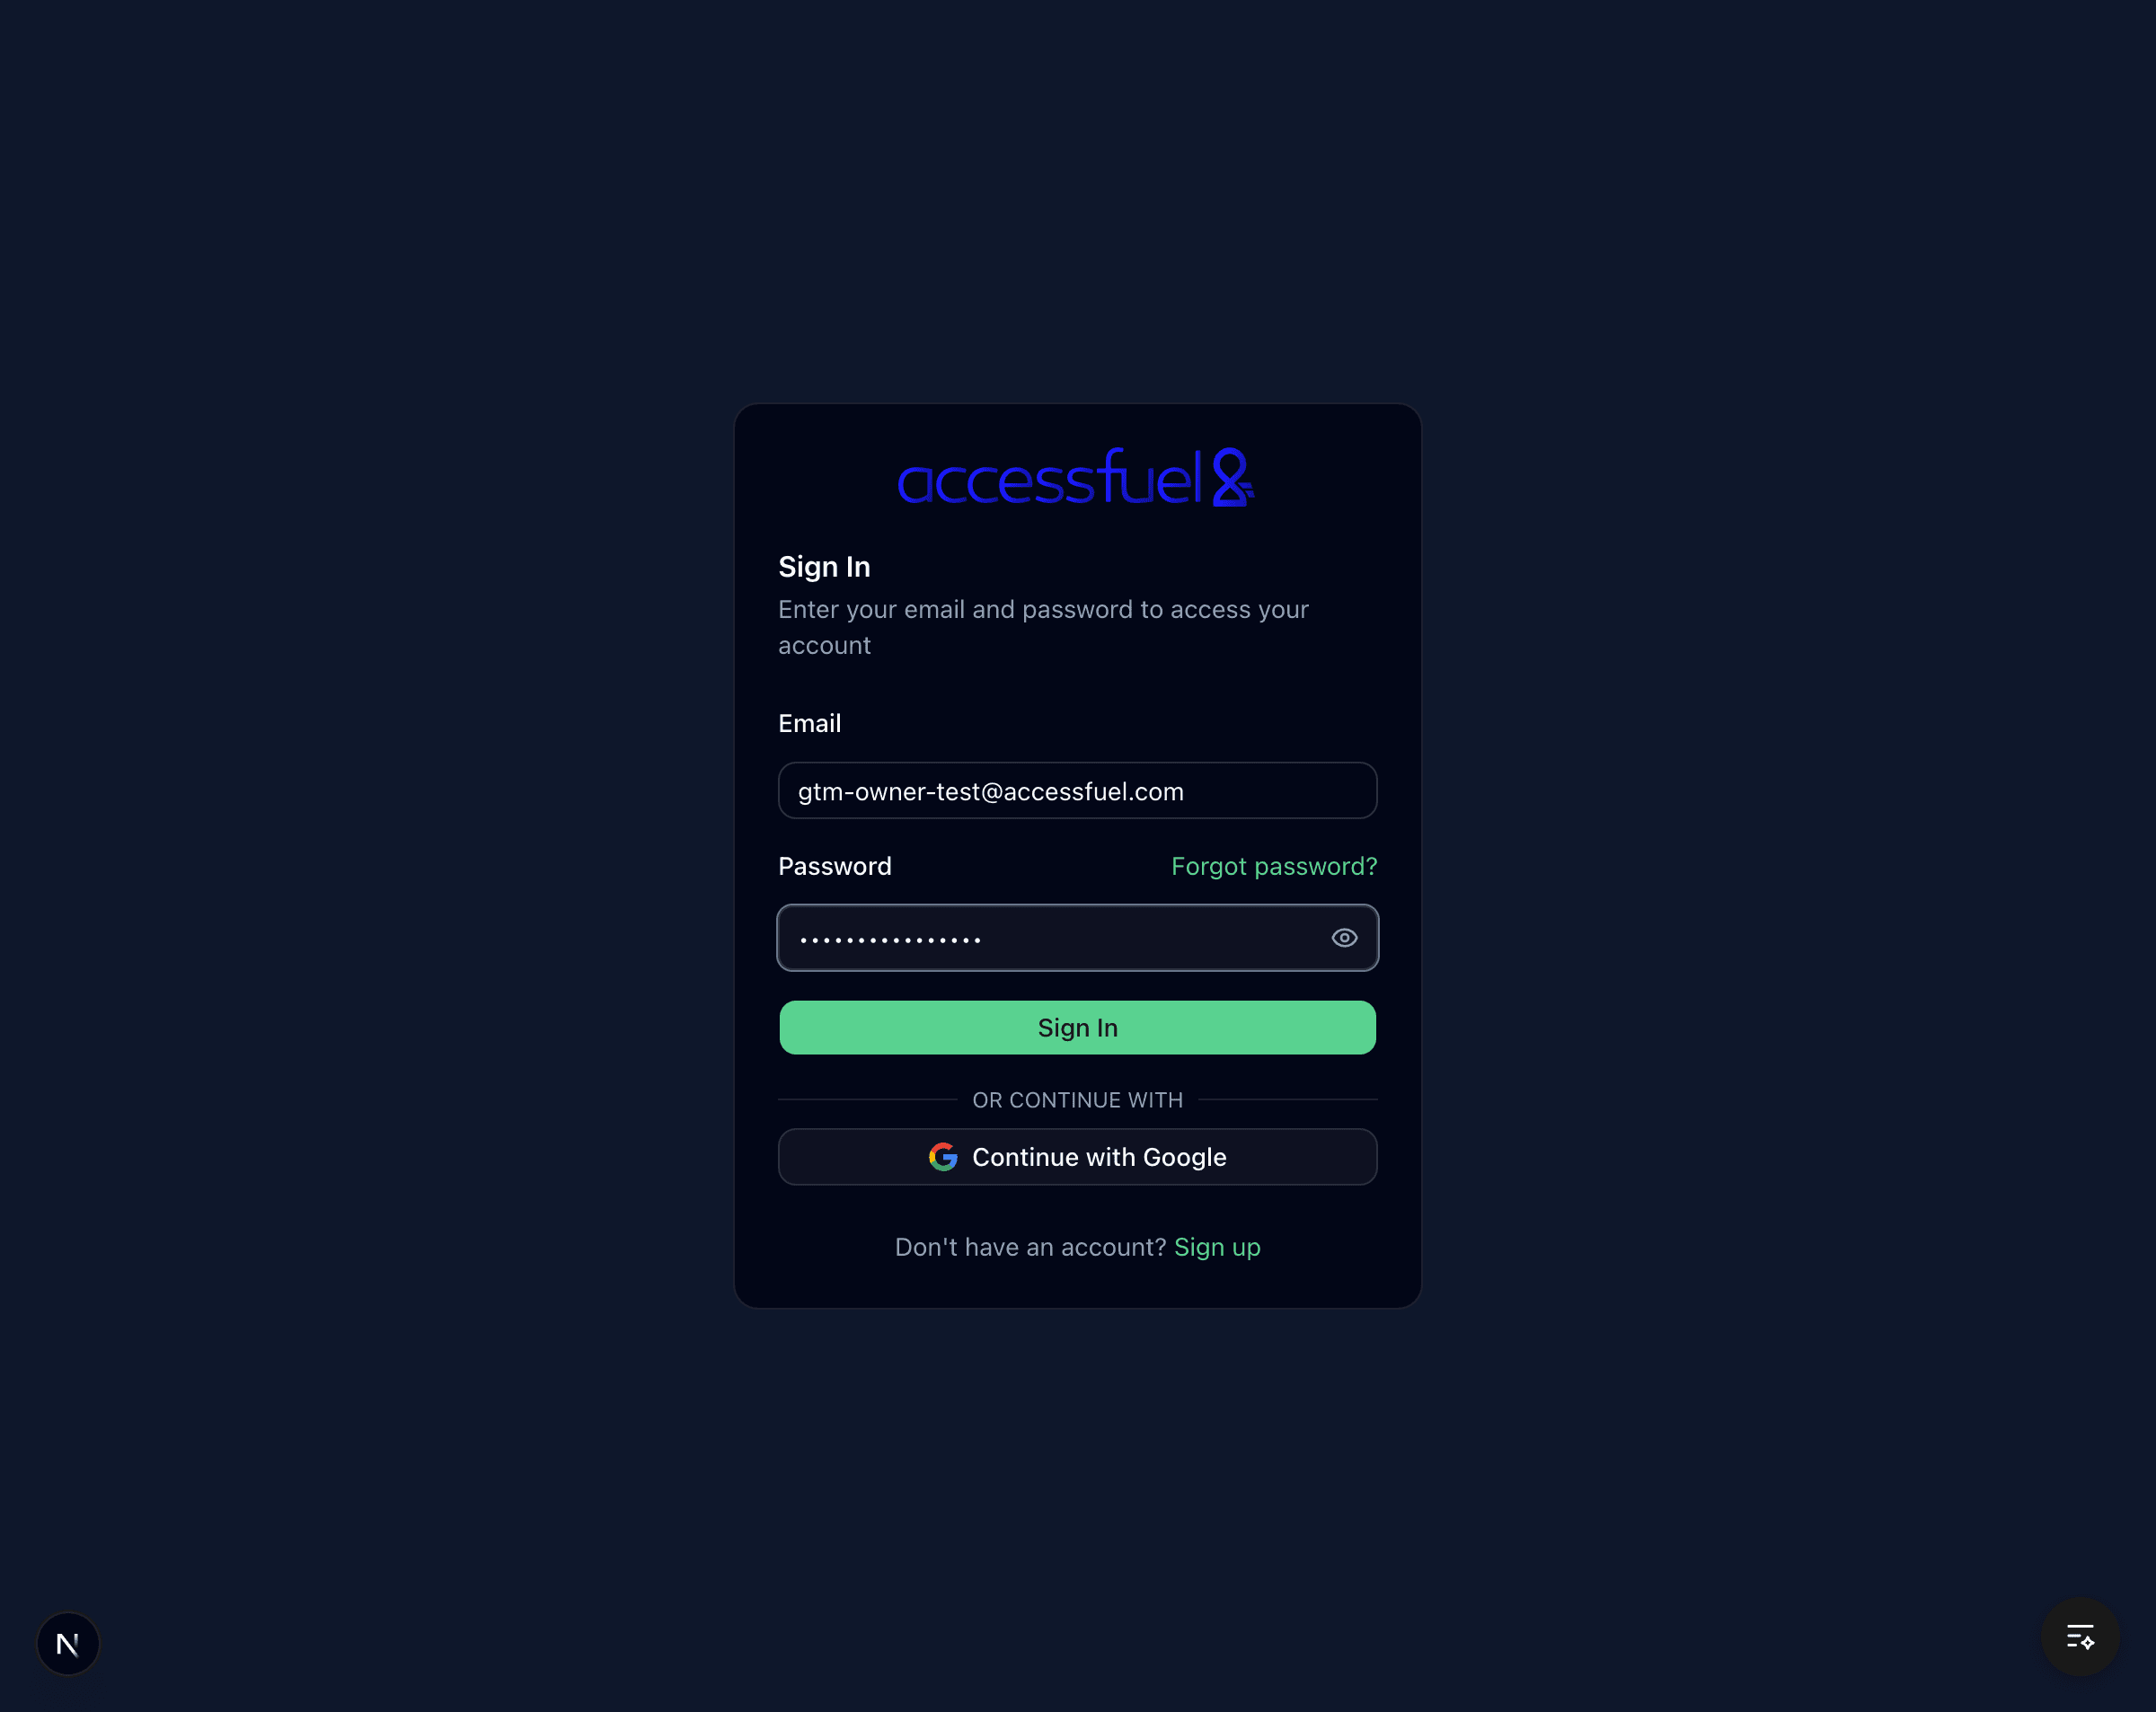
Step 3: Sign In
- Enter your email and password
- Click Sign In
- You will be taken to the onboarding wizard
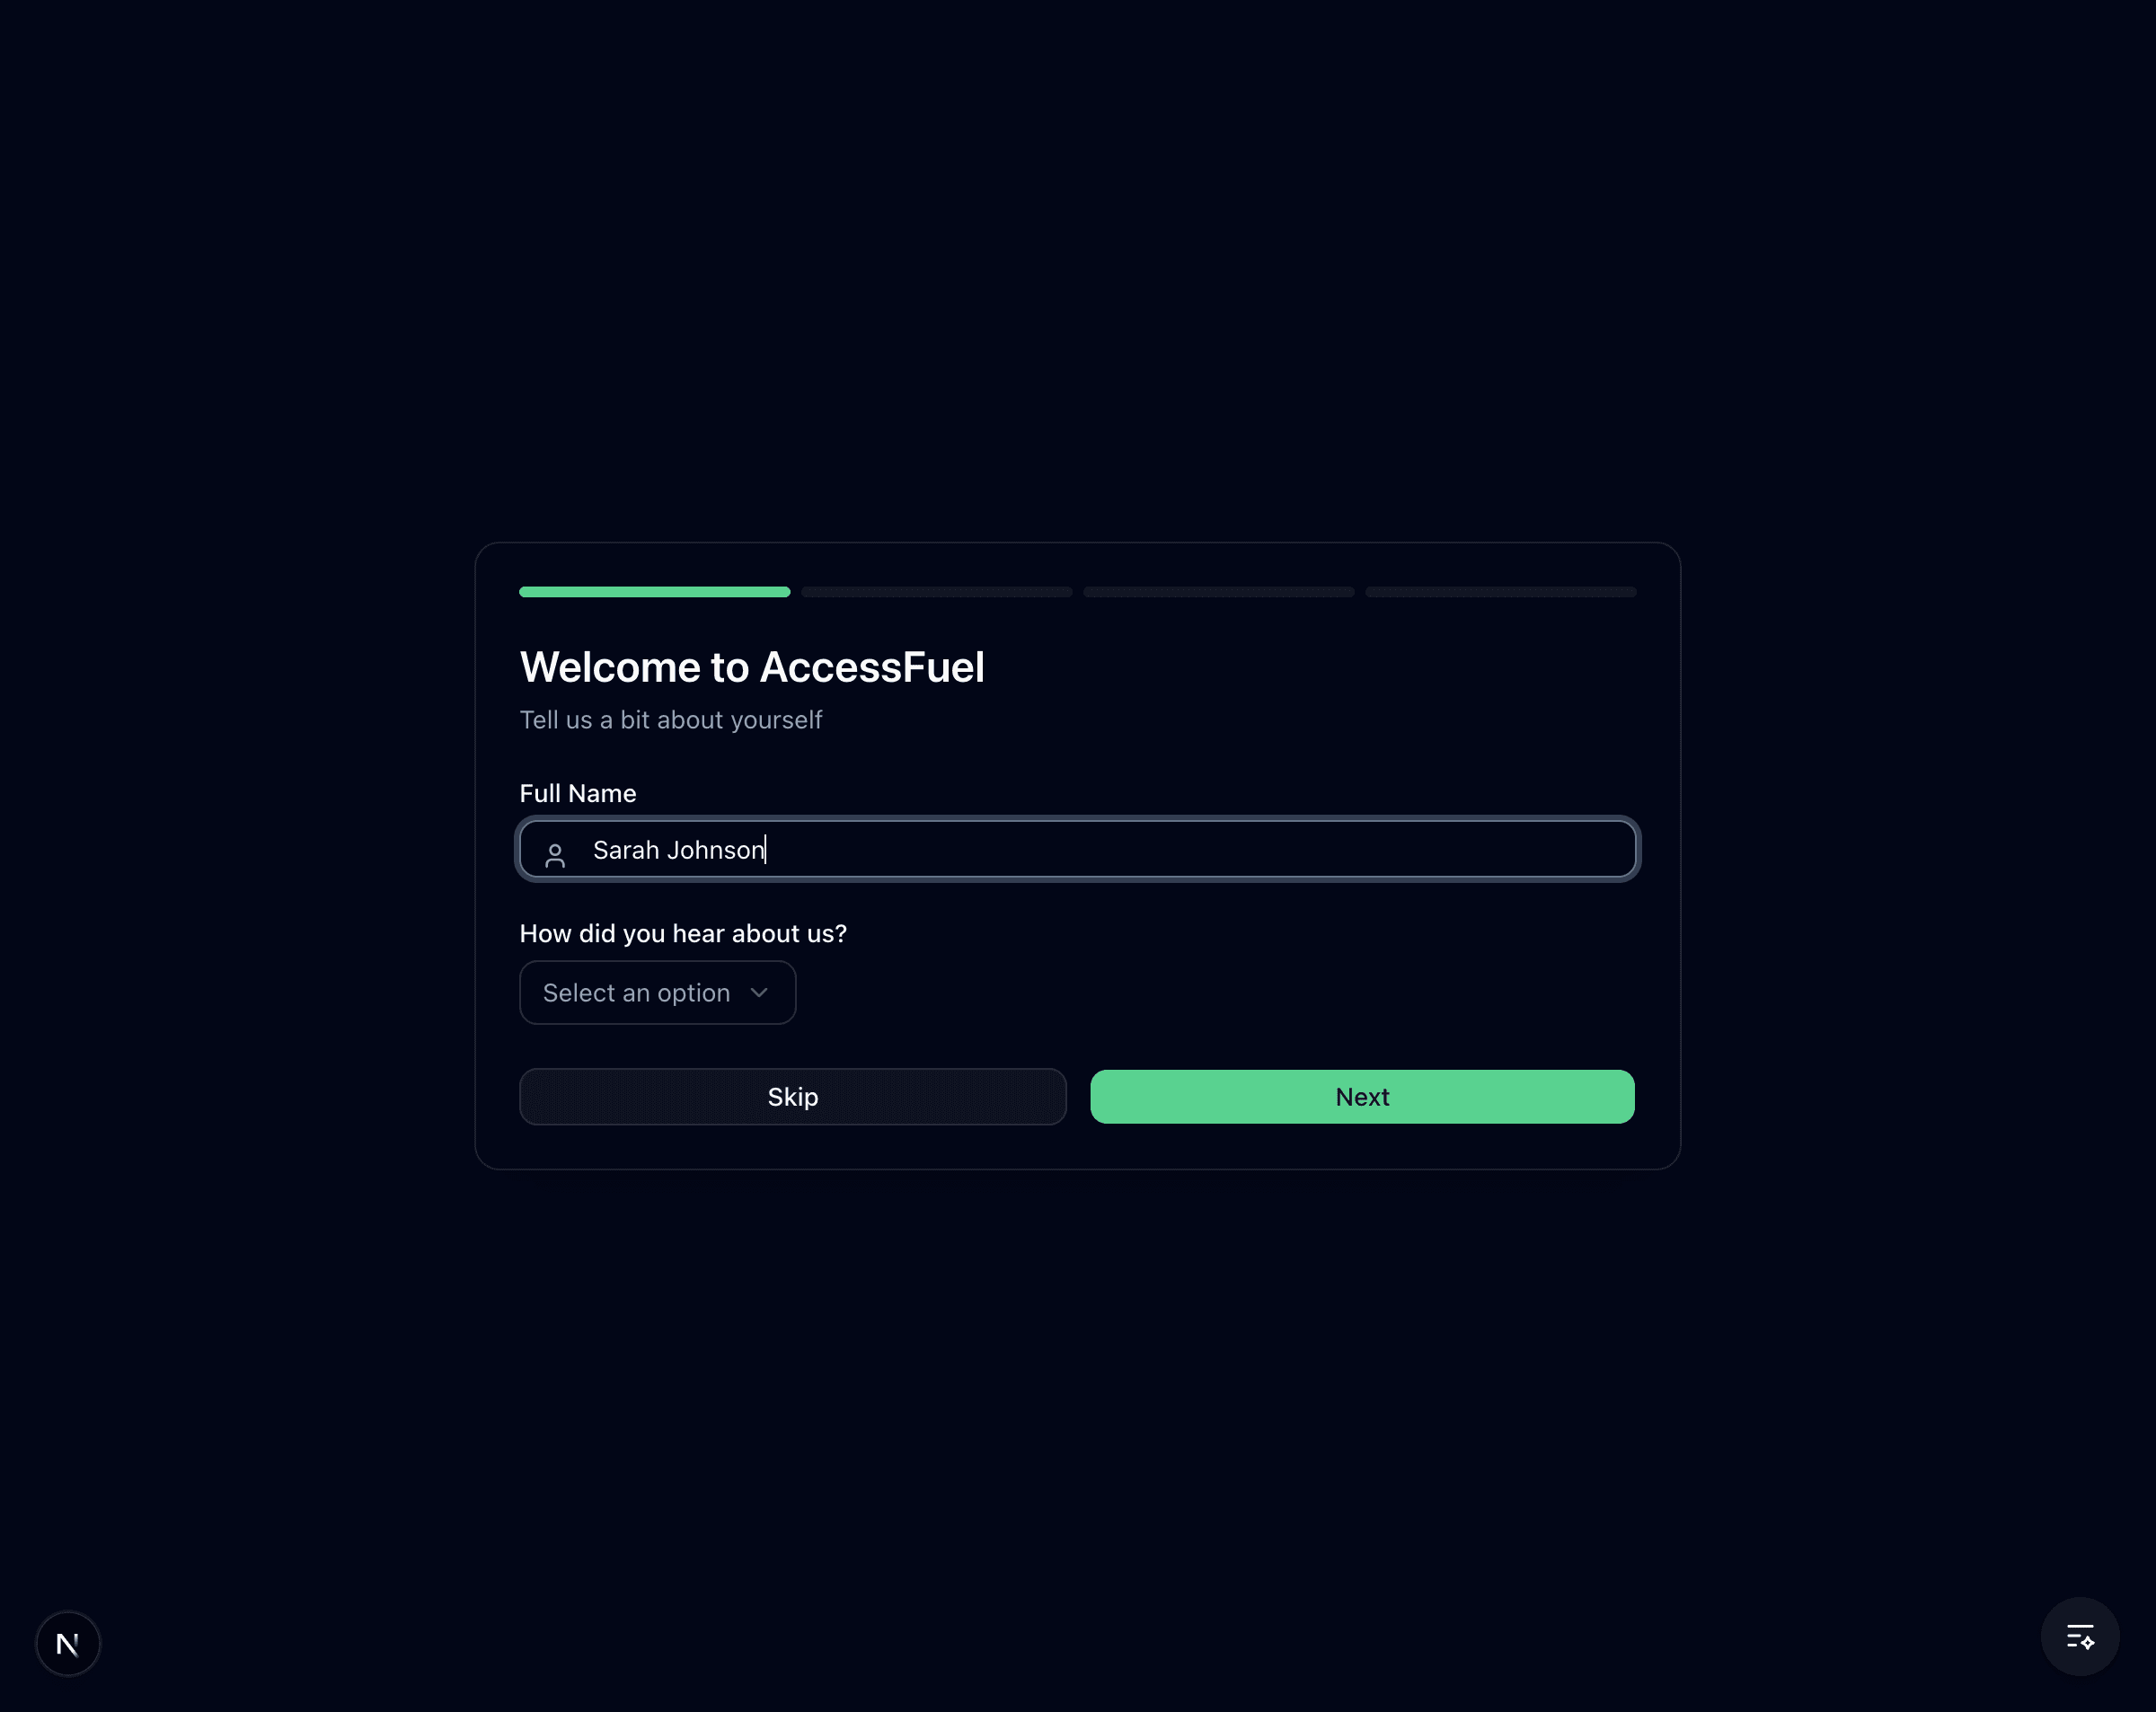
Step 4: Tell Us About Yourself
The onboarding wizard starts by asking for your name and how you heard about AccessFuel.
- Enter your full name
- Optionally select how you found AccessFuel
- Click Next to continue (or Skip to move on)
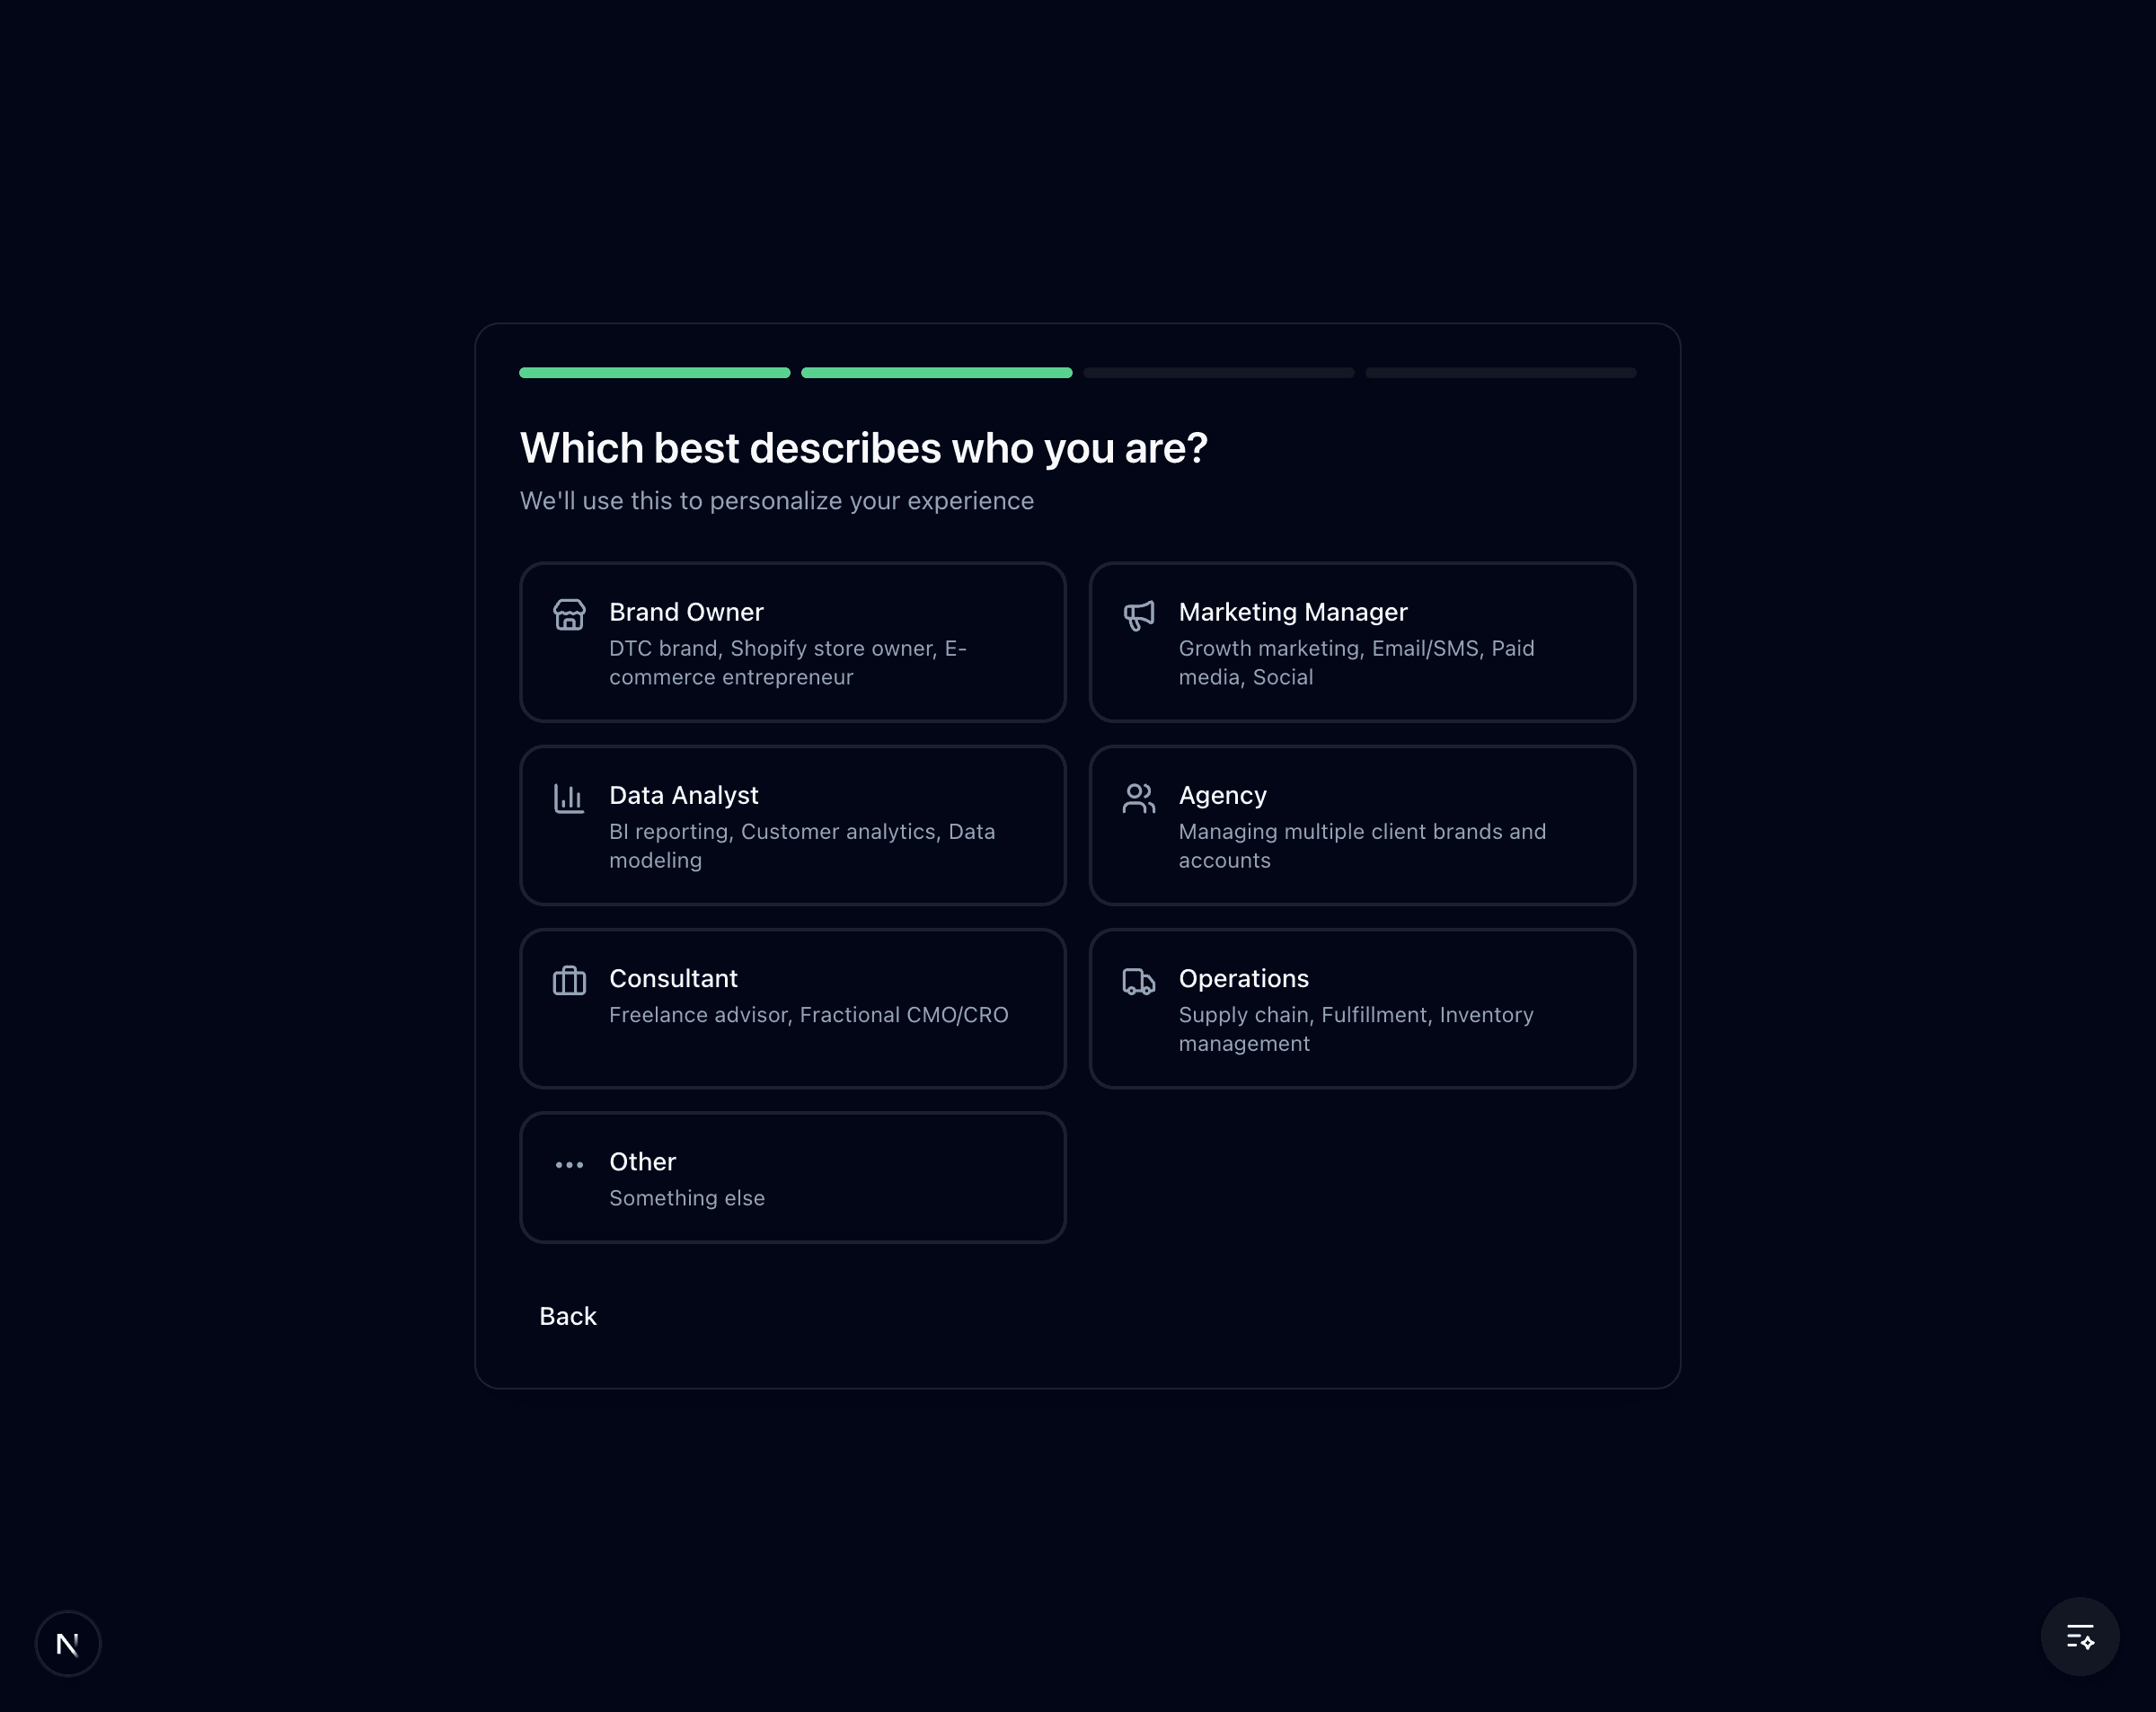
Step 5: Select Your Role
Choose the role that best describes what you do. This helps AccessFuel tailor your experience.
- Brand Owner -- DTC brand, Shopify store owner
- Marketing Manager -- Growth marketing, email/SMS, paid media
- Data Analyst -- BI reporting, customer analytics
- Agency -- Managing multiple client brands
- Consultant -- Freelance advisor, fractional CMO/CRO
- Operations -- Supply chain, fulfillment, inventory
- Other -- Something else
Click your role to automatically advance to the next step.
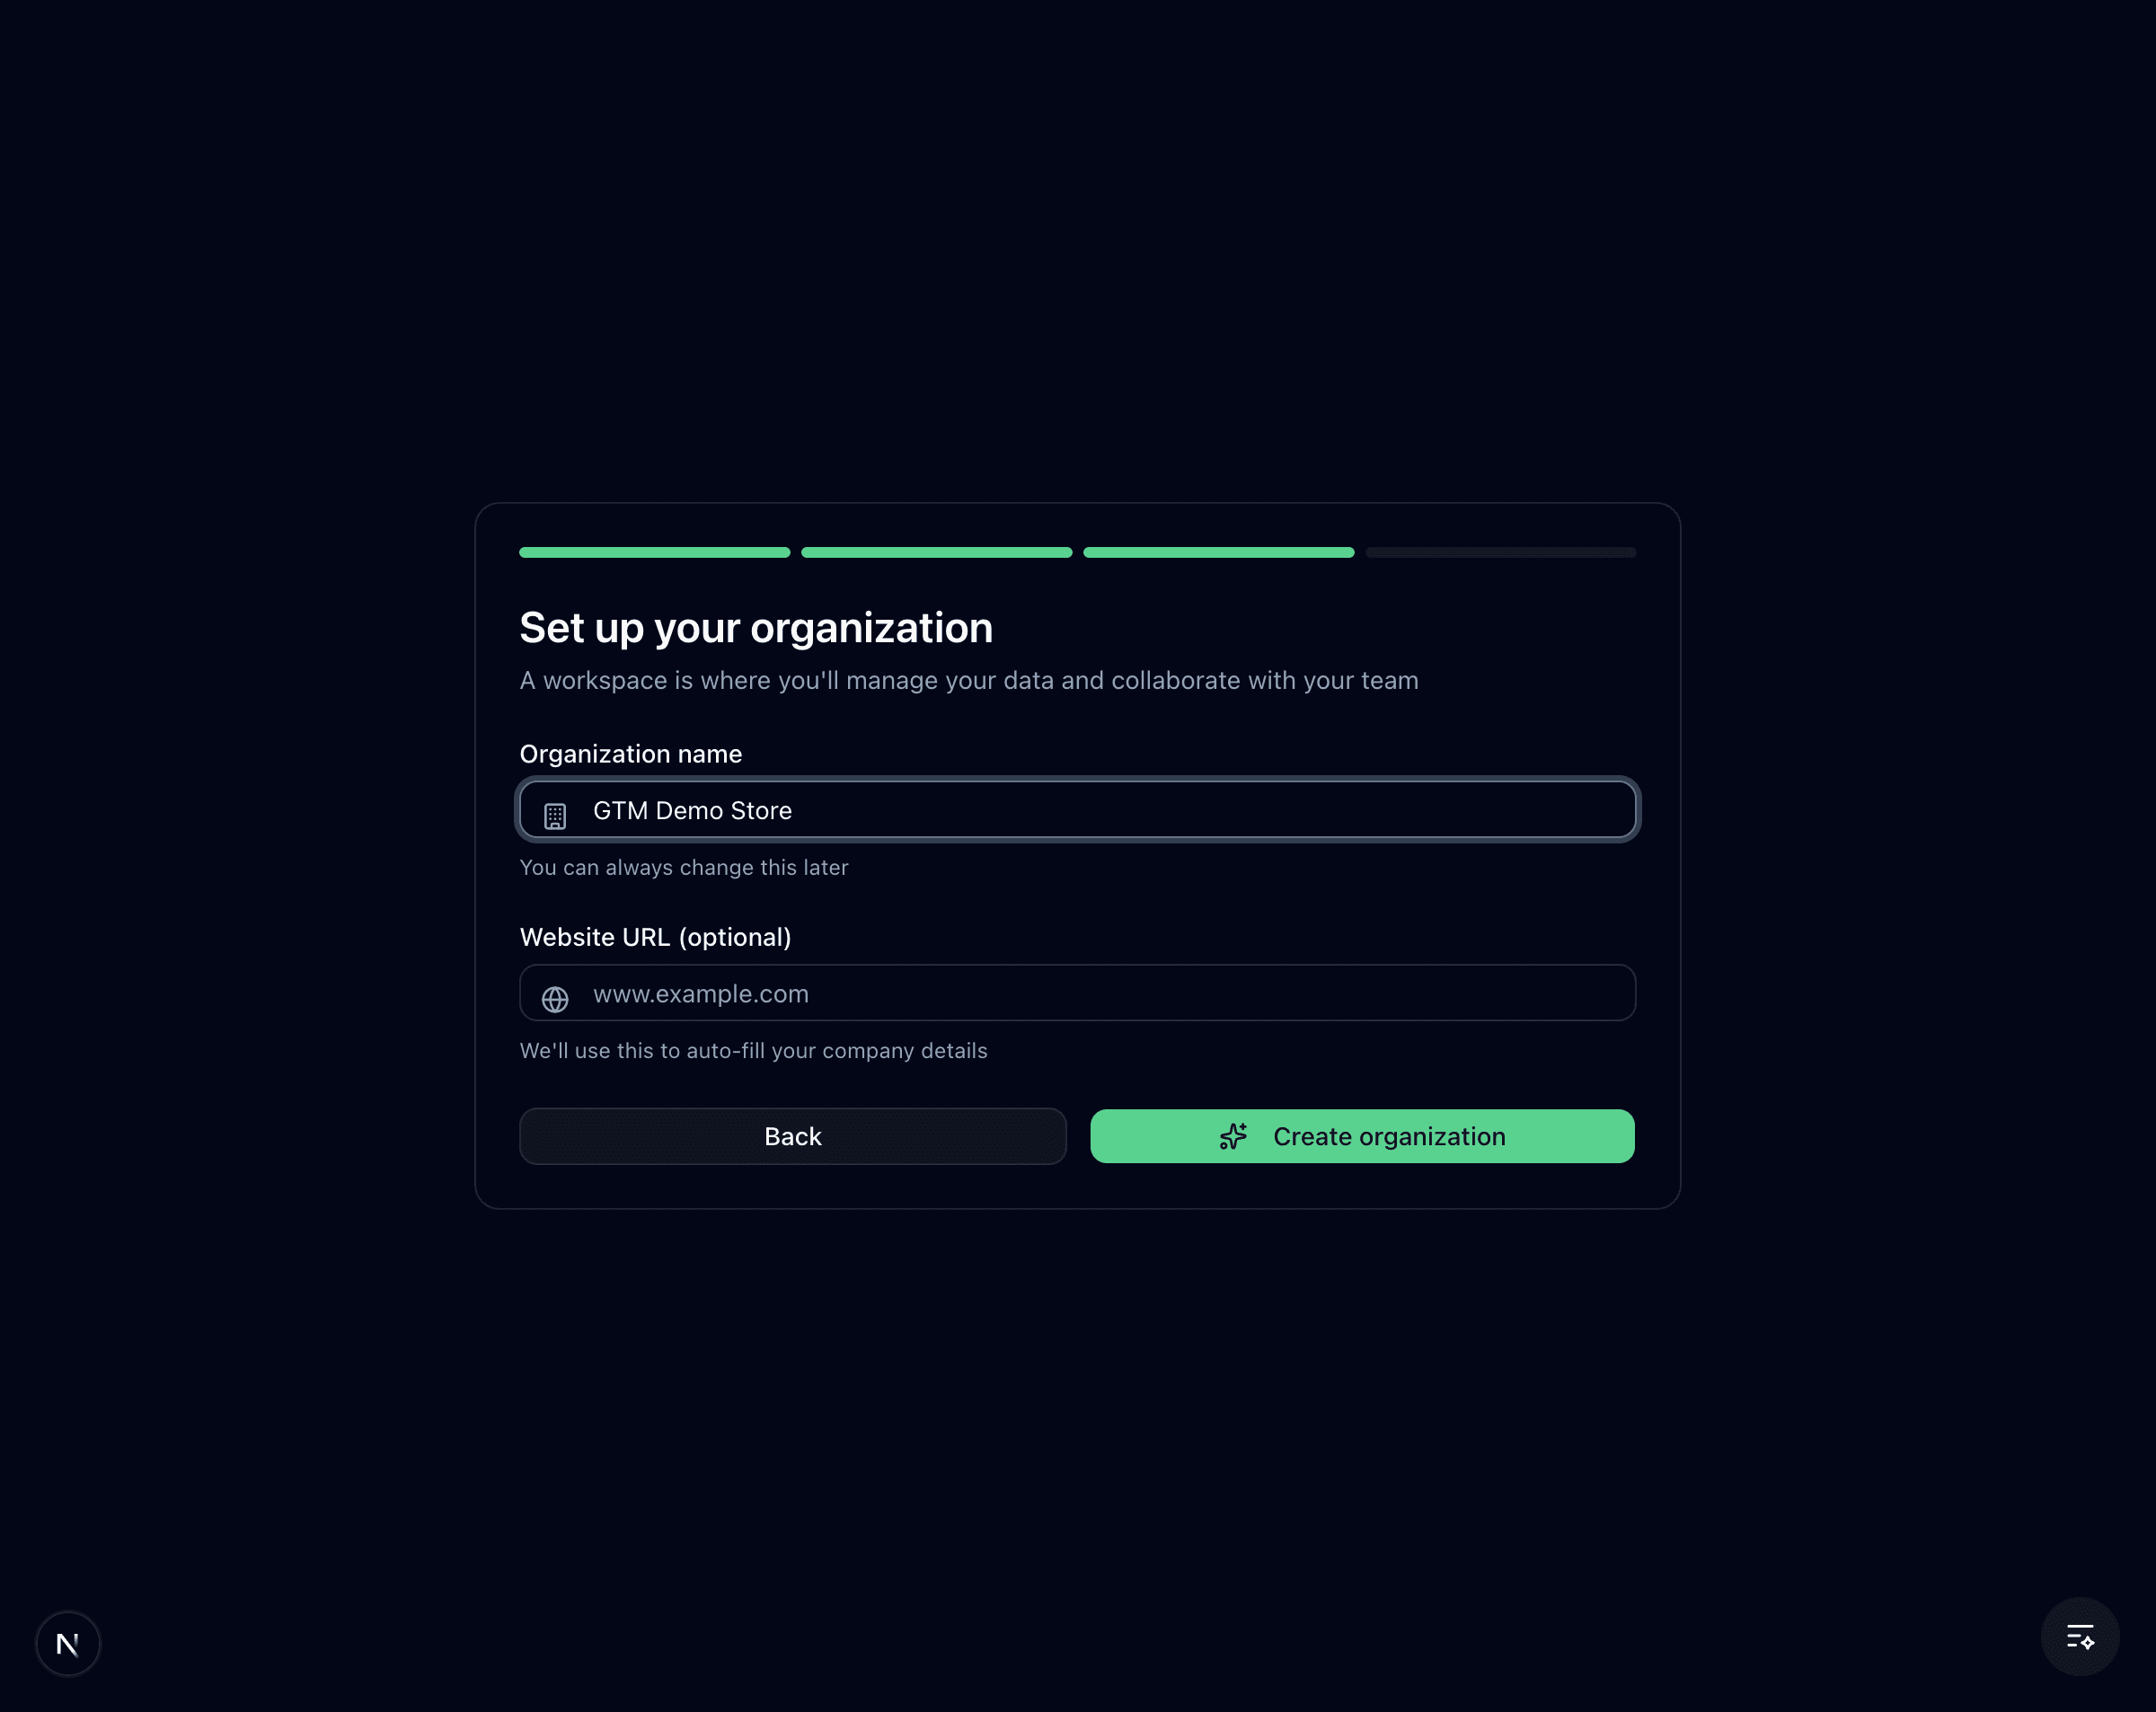
Step 6: Set Up Your Organization
- Enter your organization name (your company or brand name)
- Optionally add your website URL -- AccessFuel will use AI to generate a description of your business
- Click Next (if you added a URL) or Create Organization (if you did not)
Step 7: Review Your Business (Optional)
If you provided a website URL, AccessFuel analyzes your site and generates a company name and description. You can edit either field before continuing.
- Review the AI-generated company name and description
- Edit them if needed
- Click Create Organization
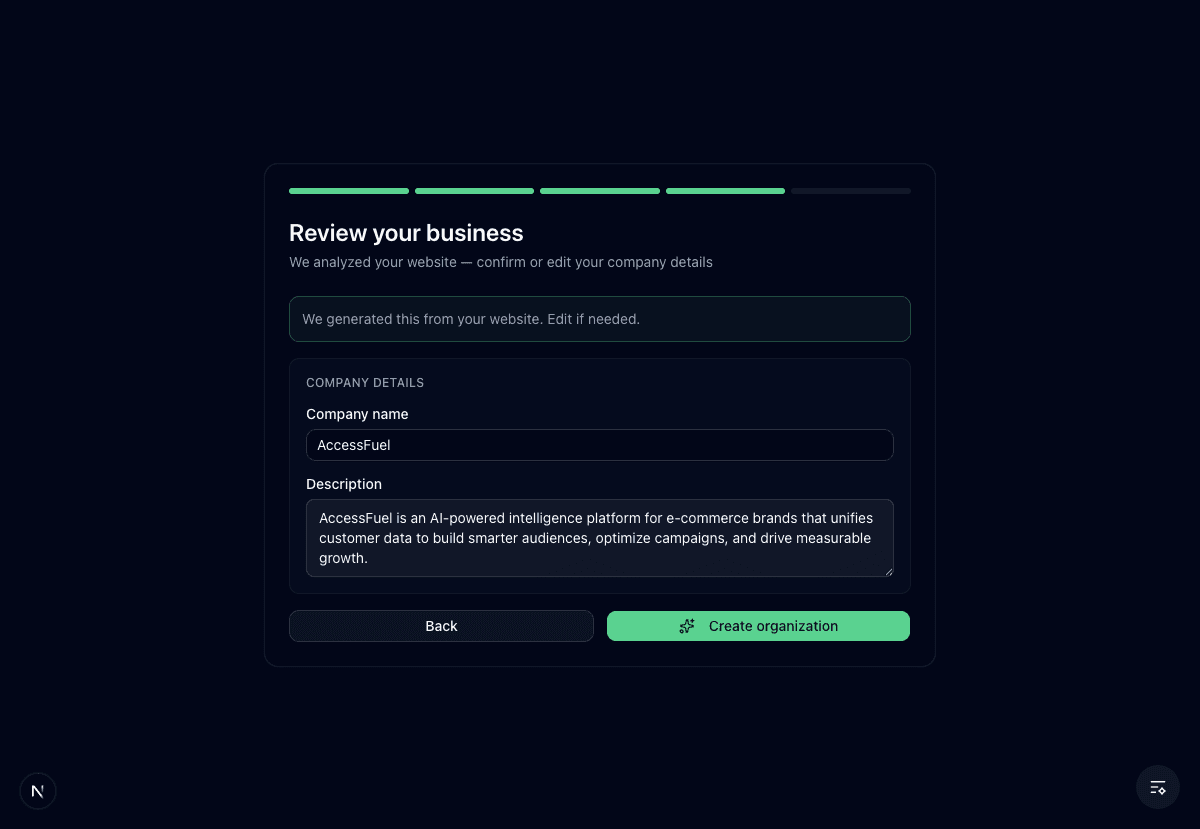
This step only appears when you provide a website URL. If you skip the website field, AccessFuel will go straight to creating your workspace. You can always update your business details later in Settings.
Step 8: Workspace Creation
AccessFuel sets up your workspace with analytics databases, a knowledge base folder, and default settings. This takes a few seconds.
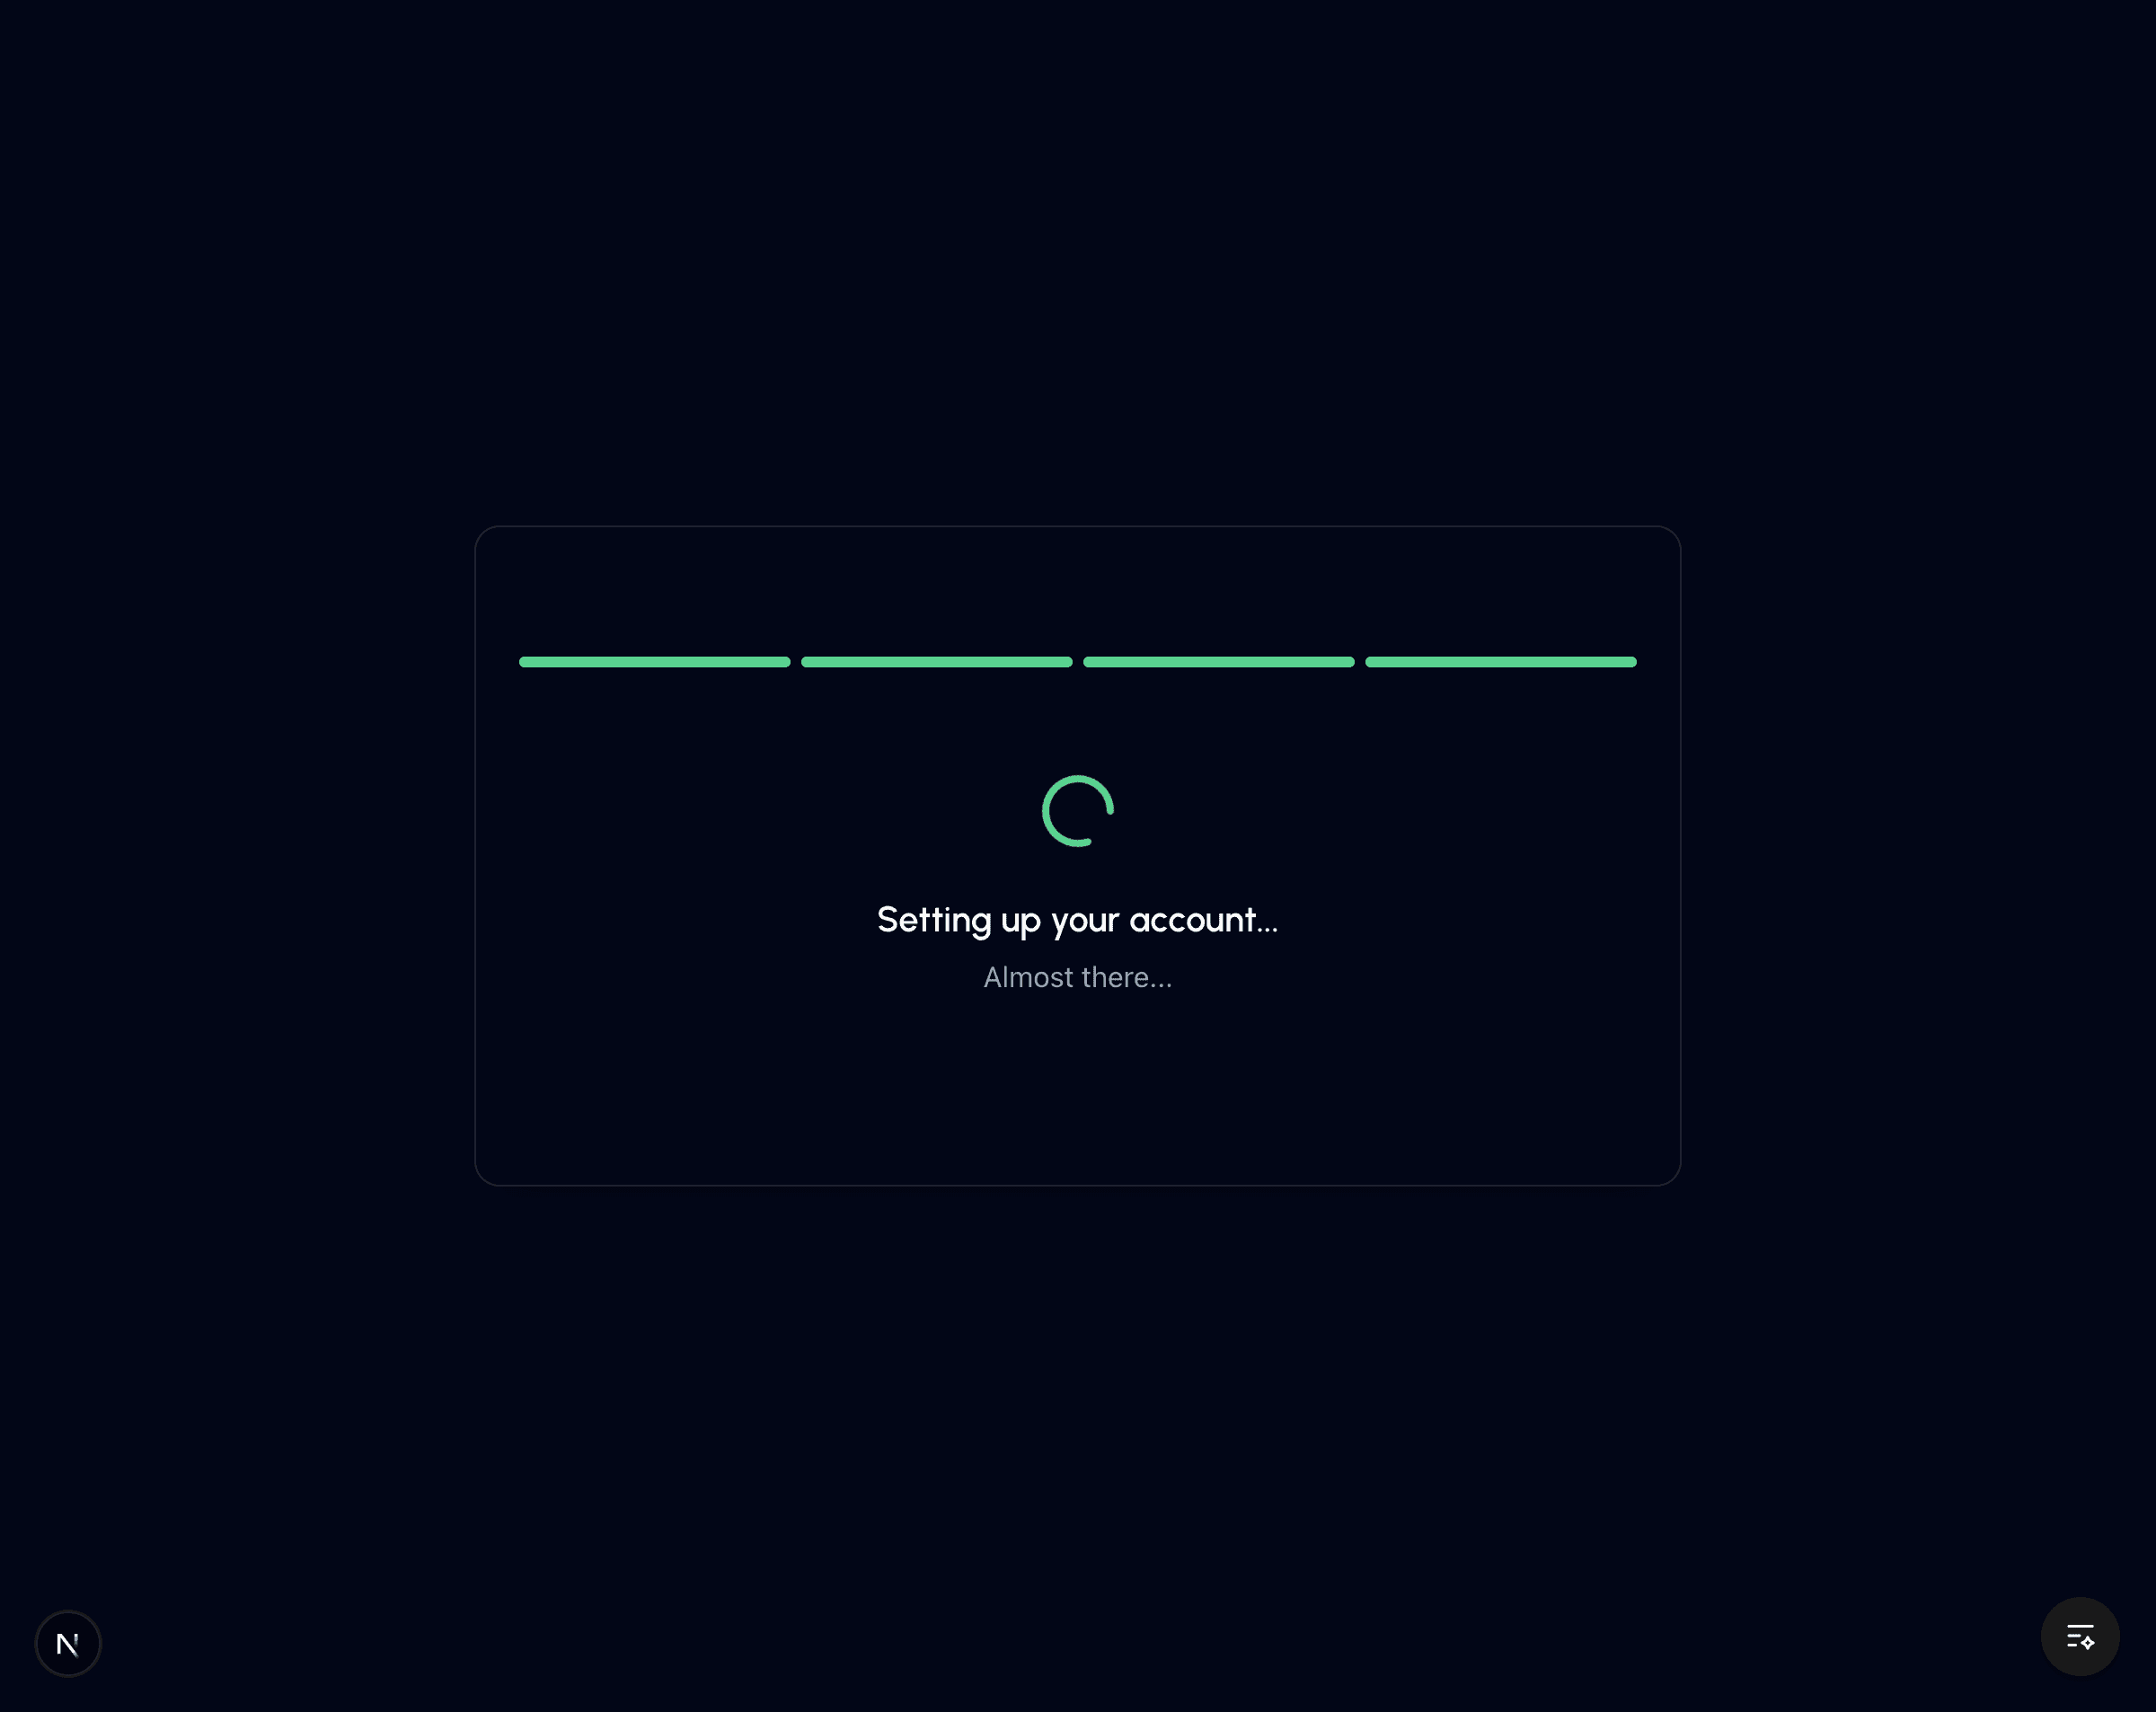
Once complete, you will be redirected to your new workspace dashboard.
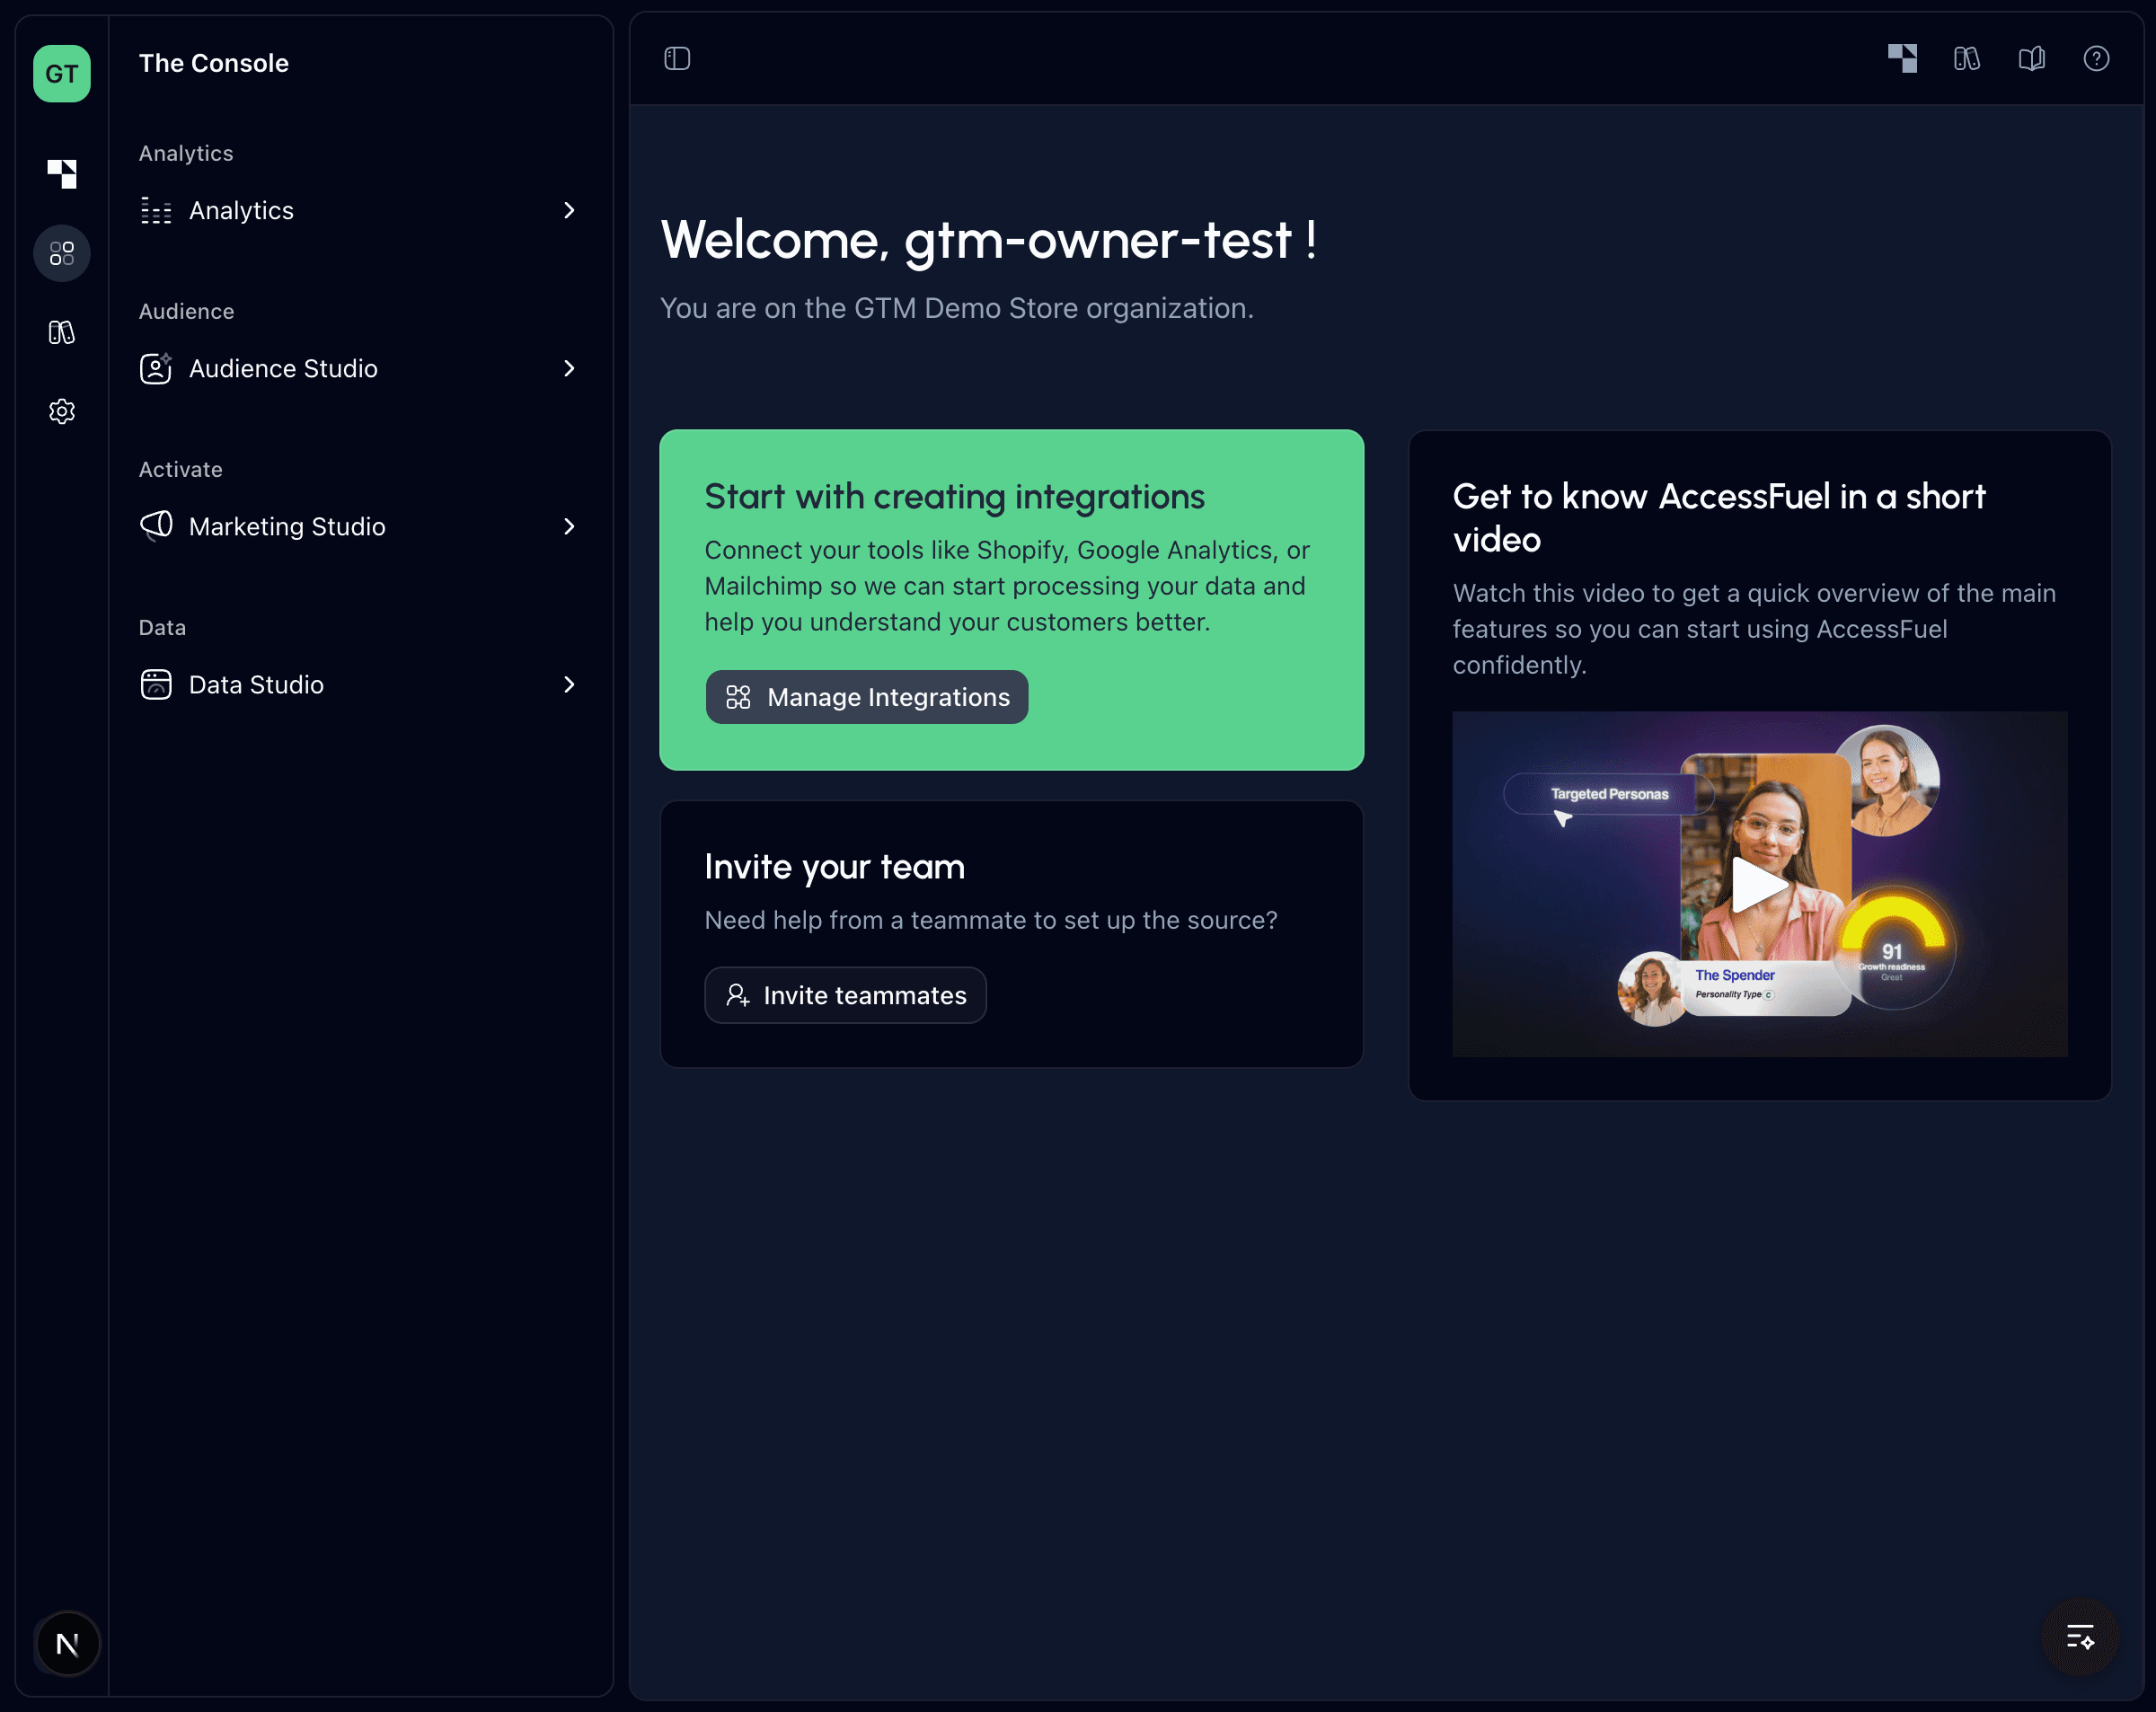
Your Role as Owner
When you create a workspace, you are automatically assigned the Owner role. As the Owner, you have full control over the organization, including:
- Managing team members and their roles
- Configuring integrations and data sources
- Accessing billing and subscription settings
- Deleting the organization if needed
There can only be one Owner per organization, but you can transfer ownership to another team member at any time from Platform Settings.