Invite Your Team
Add team members to your workspace and assign the right roles
Invite Your Team
AccessFuel is designed for collaboration. When your team shares the same workspace, everyone sees the same data, dashboards, and AI-generated insights. No more forwarding spreadsheets or screenshots -- your team can explore the data on their own.
How to Invite Members
Step 1: Open the Invite Dialog
From your workspace dashboard, click the Invite teammates button to open the invitation dialog.
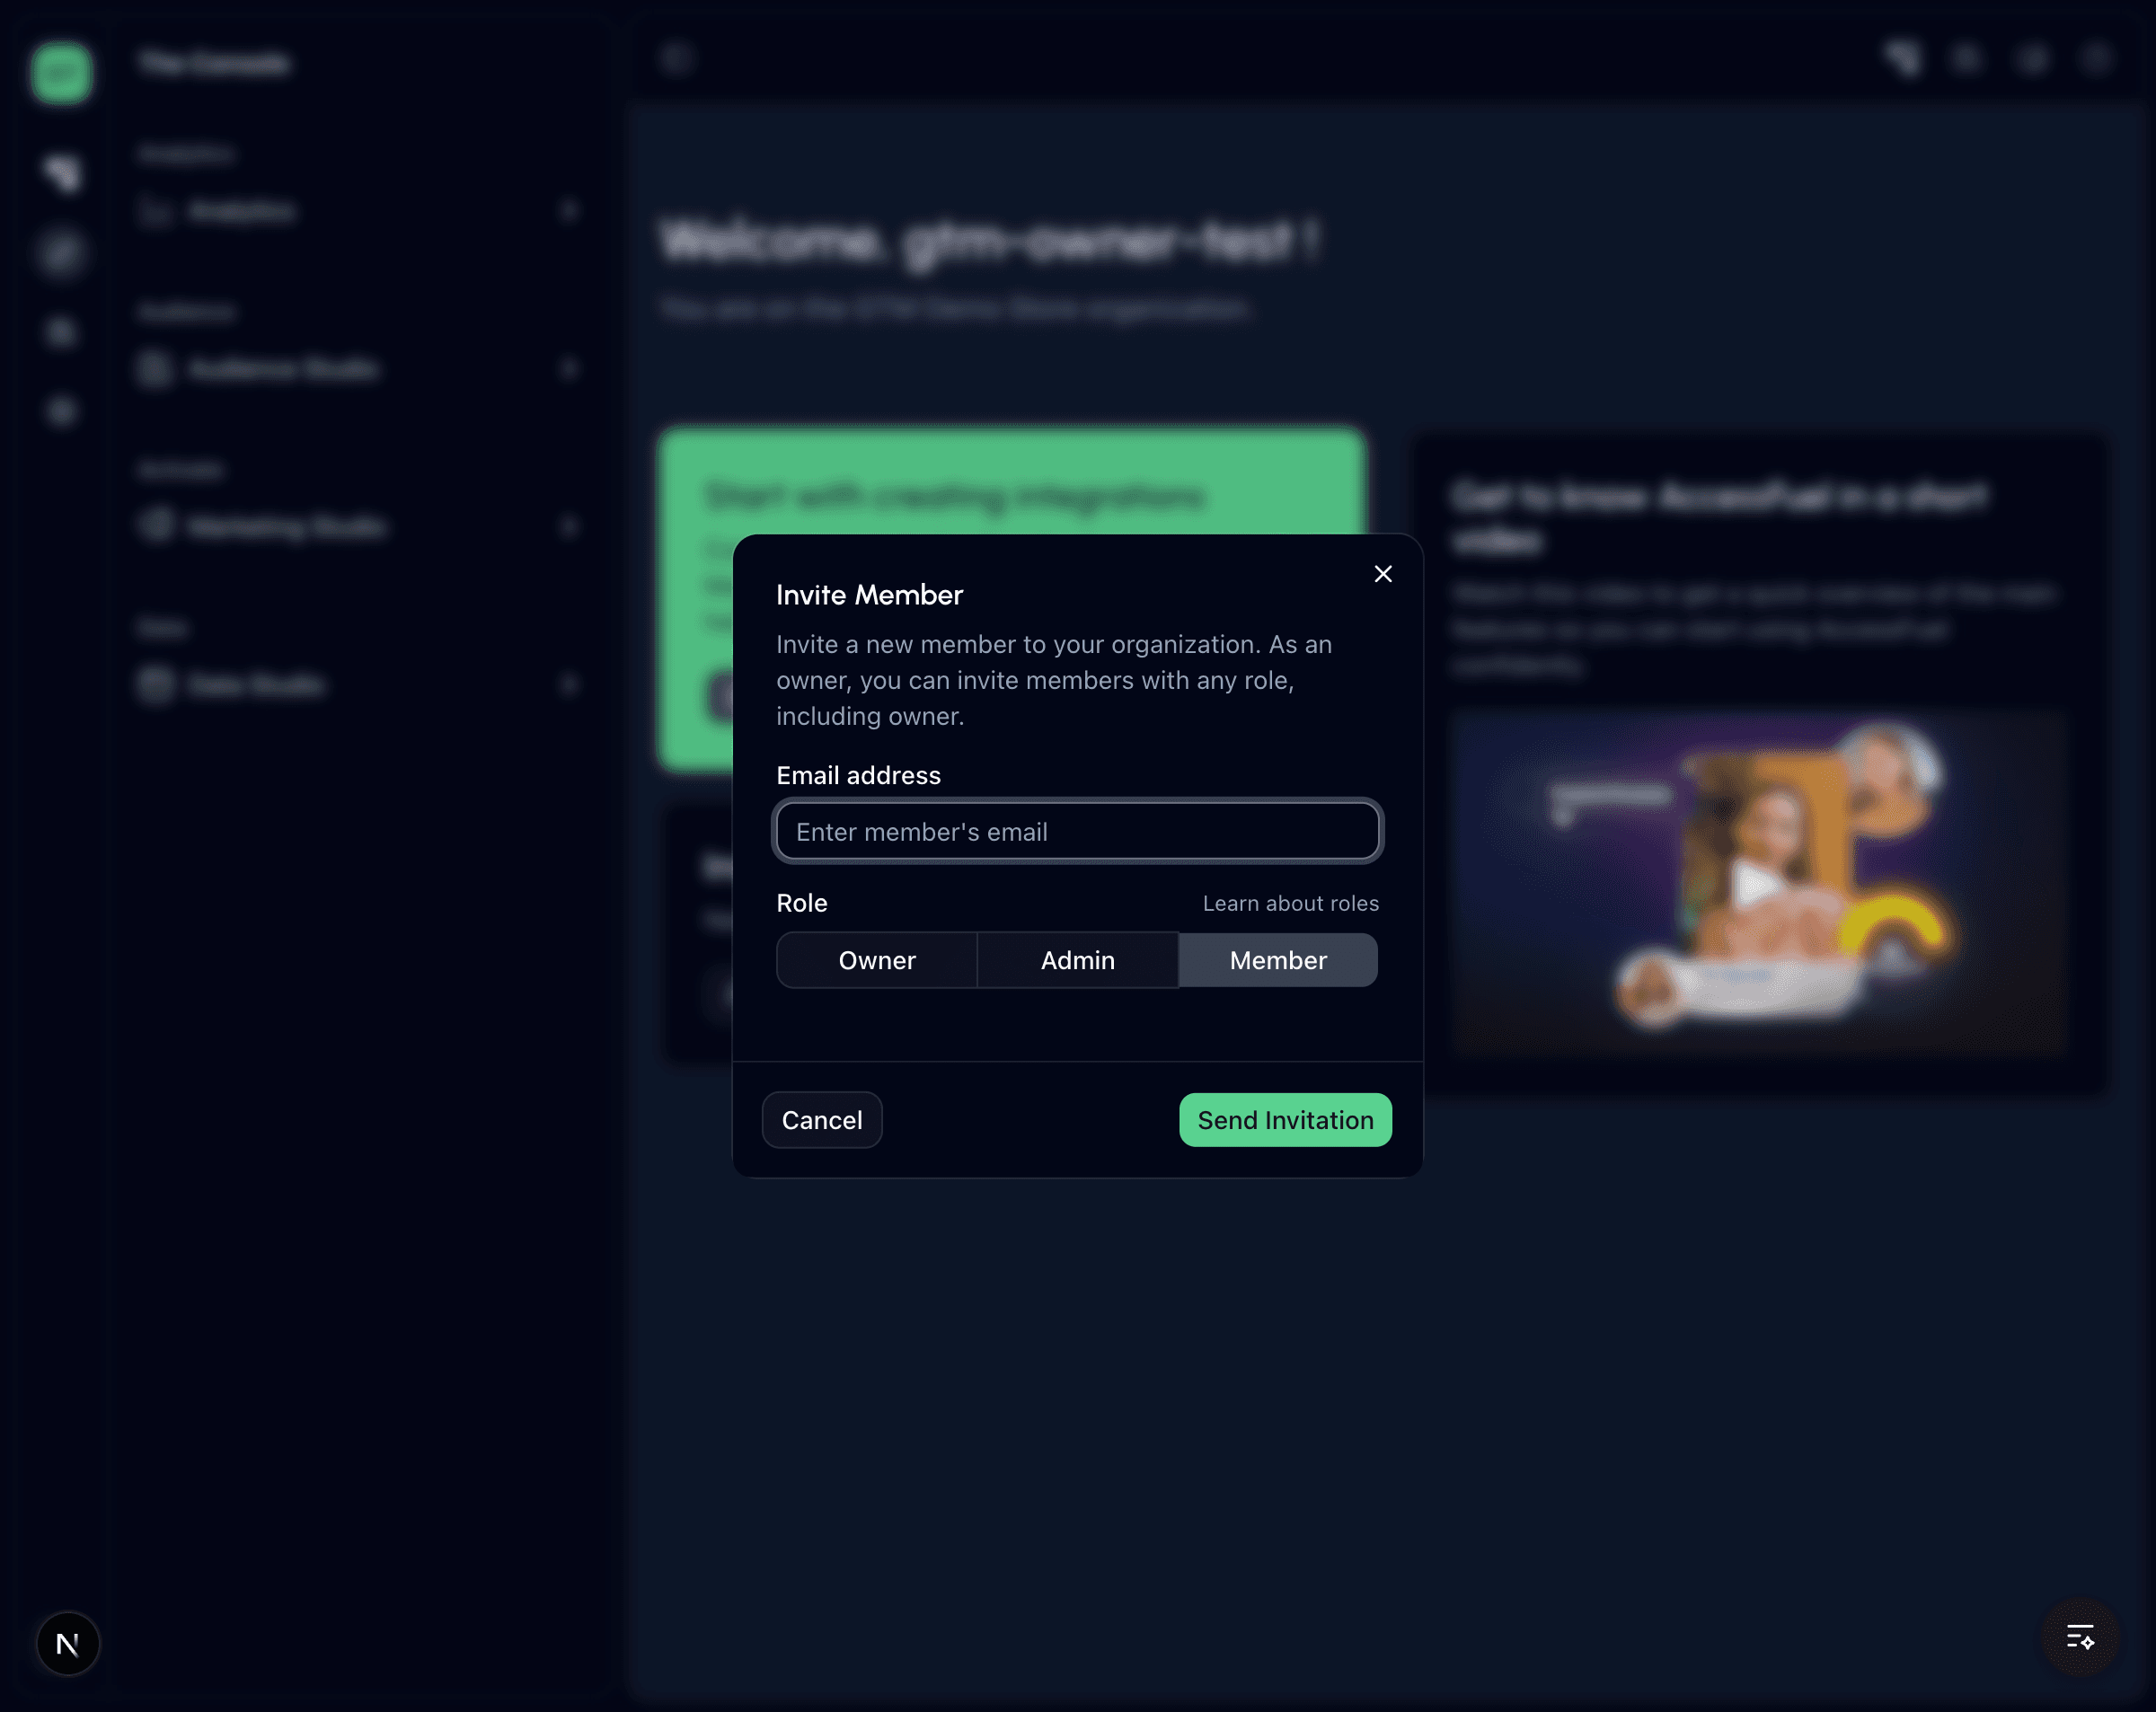
Step 2: Send an Invitation
- Enter the team member's email address
- Select a role for the new member (Member or Admin)
- Click Send Invitation

The invited person will receive an email with a link to join your workspace.
What the Invited Person Sees
When your team member clicks the invitation link, they will see the invitation details -- your organization name, who invited them, and their assigned role.
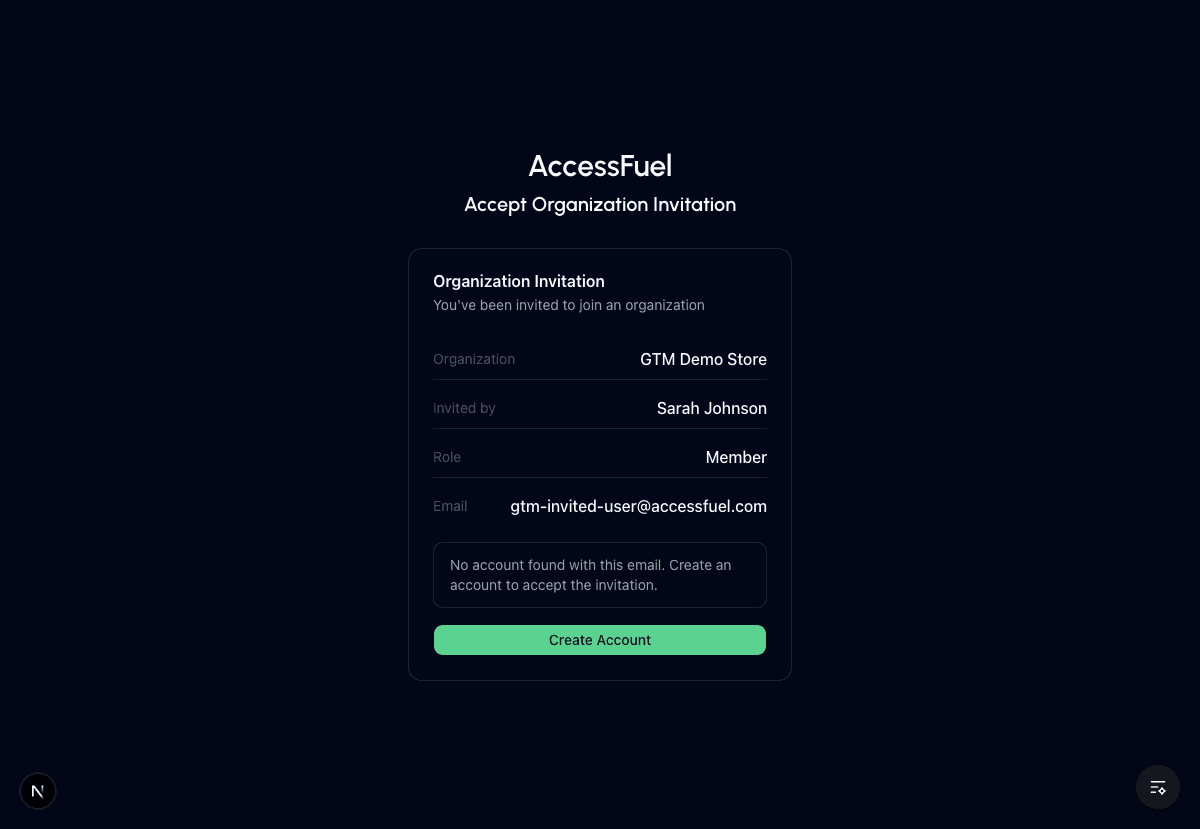
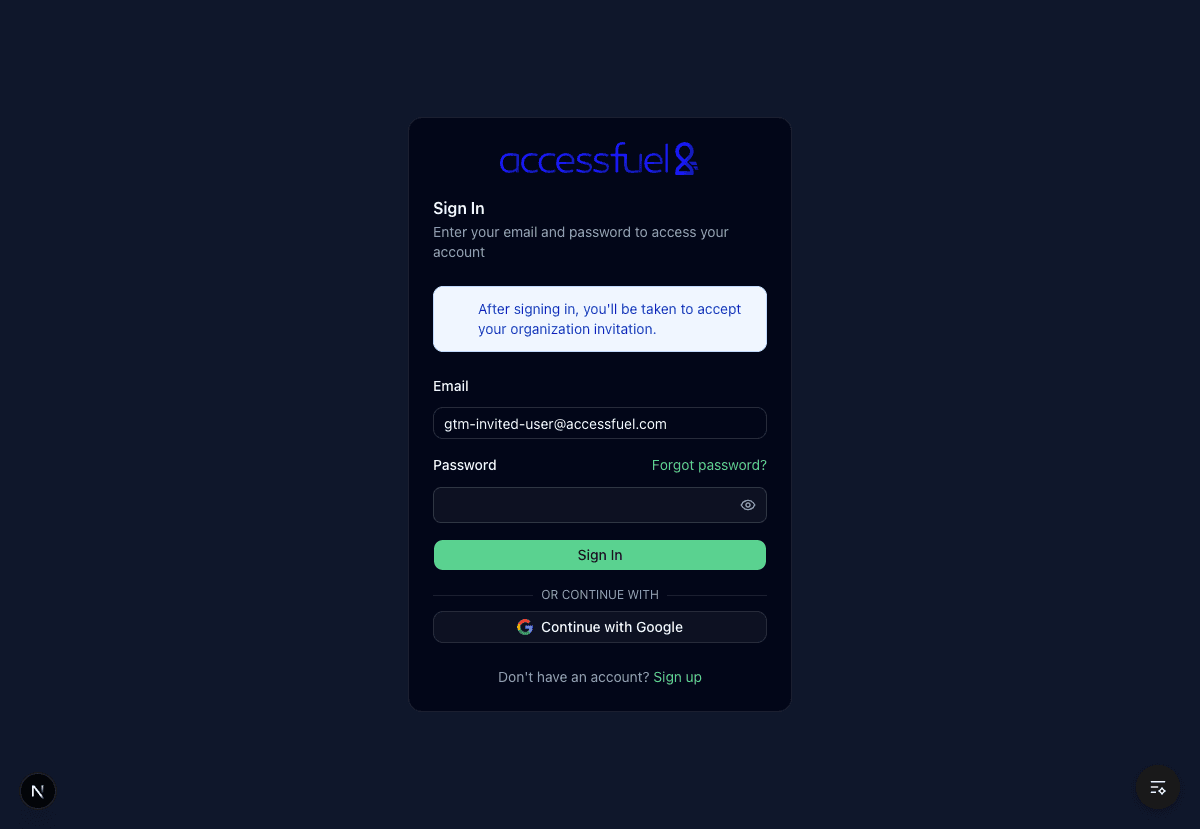
If They Are New to AccessFuel
If the invited person does not have an AccessFuel account, they will see a Create Account button. After clicking it, they will be taken to a sign-up page with a banner showing they are joining your organization.
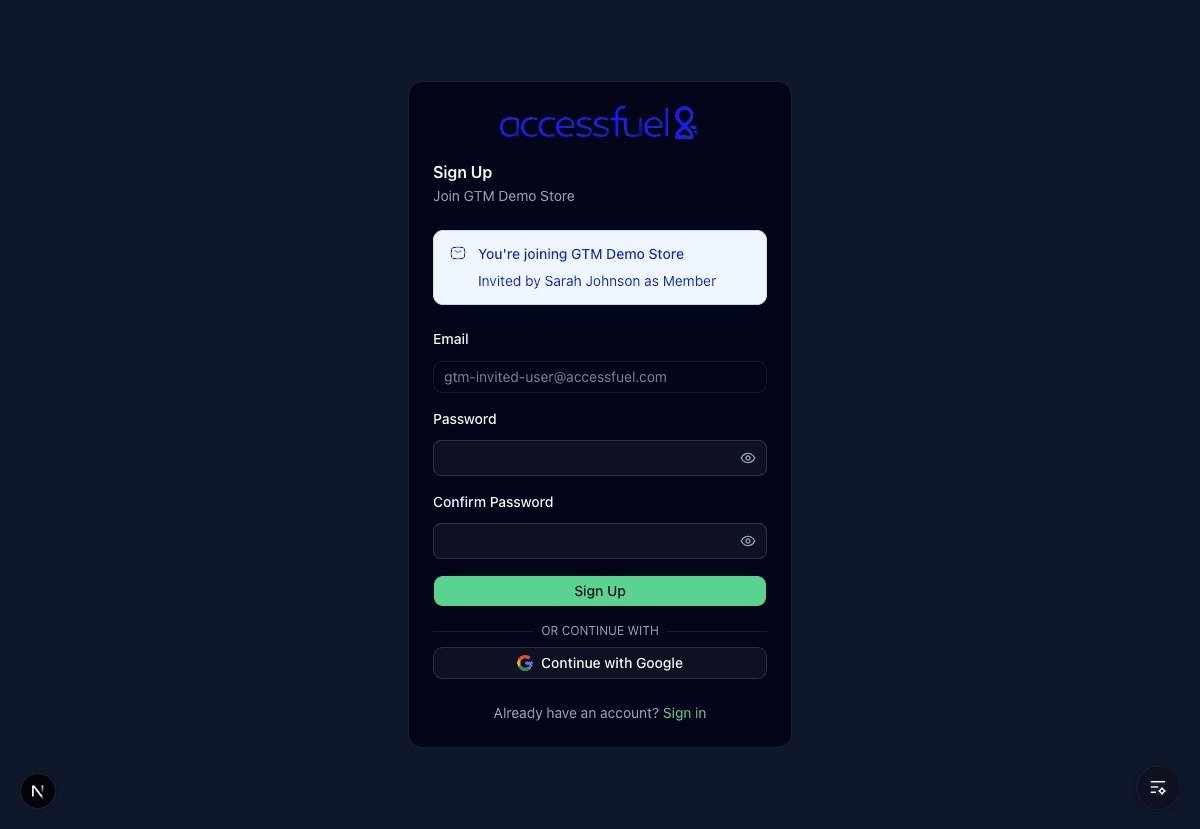
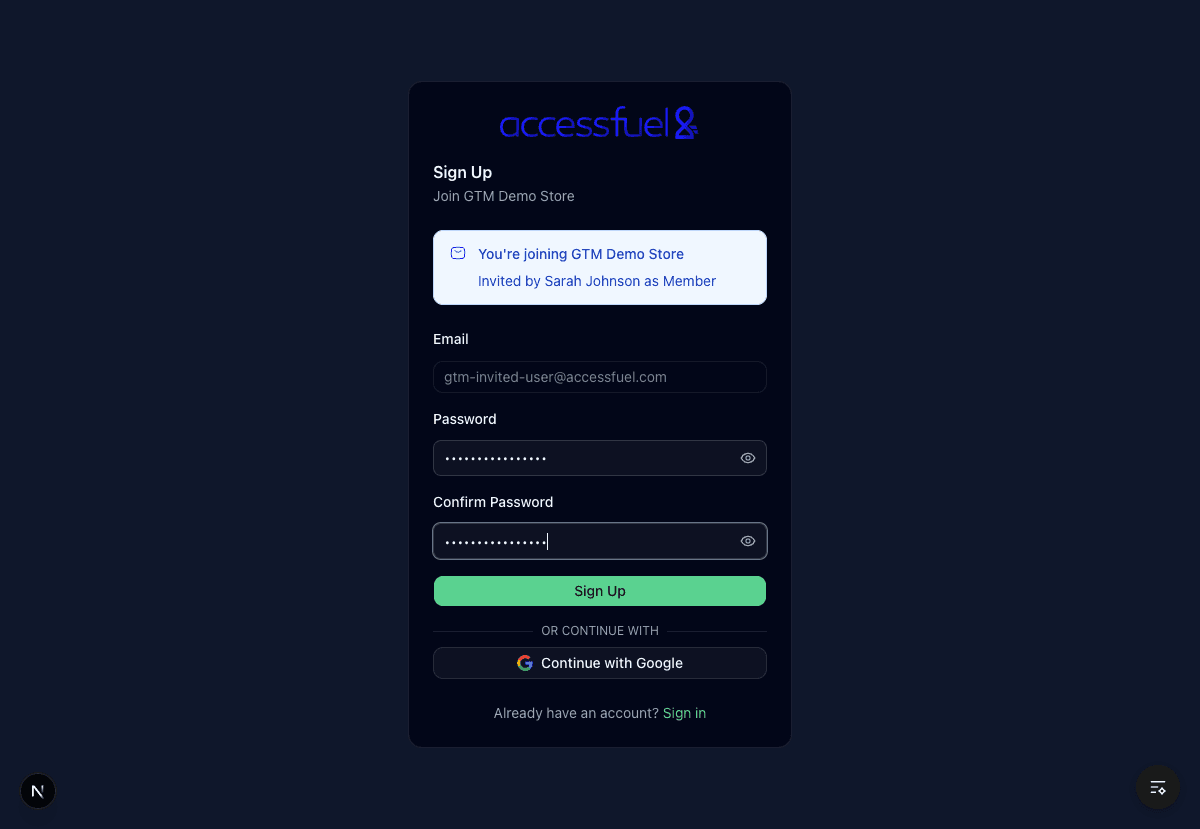
After signing up, they will be prompted to sign in. A banner confirms that after signing in, they will be taken to accept the invitation.
Landing in the Workspace
After signing in, the invited user is automatically added to your workspace and taken directly to the dashboard. They do not go through the onboarding wizard or need to create their own organization.
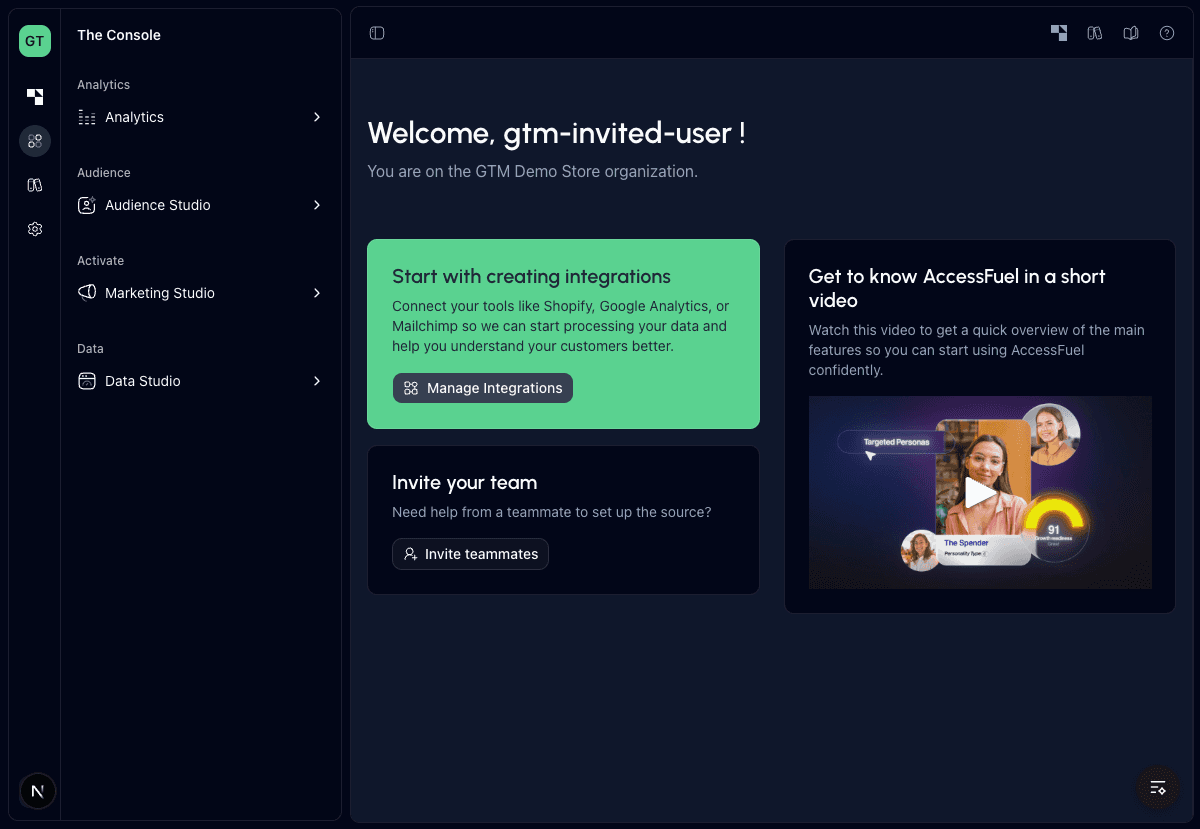
Invited users skip onboarding entirely. They go straight to your workspace dashboard after accepting the invitation. No need to create a separate organization.
Understanding Roles
Each team member gets a role that controls what they can see and do inside AccessFuel.
| Role | What They Can Do |
|---|---|
| Owner | Full control over the organization, including billing, integrations, team management, and deleting the workspace. One Owner per organization. |
| Admin | Manage team members and integrations, configure settings, and access all data. Cannot manage billing or delete the organization. |
| Member | View dashboards and reports, use AIRA, create segments, and export data. Cannot change settings or invite others. |
Managing Pending Invitations
Not everyone accepts right away. You can check the status of outstanding invitations:
- Navigate to Settings then General then Organization Members
- Scroll to the Pending Invitations section
- Click Resend to send the invitation email again
- Click Cancel to revoke an invitation that has not been accepted
Start small. You do not need to invite your entire team on day one. Start with one or two key people -- perhaps your marketing lead or a data-savvy team member -- and expand from there once you have your data flowing.
Changing a Member's Role
If someone's responsibilities change, you can update their role at any time:
- Go to Settings then General then Organization Members
- Find the team member in the list
- Click the menu icon next to their name
- Select Change Role and pick the new role
Only Owners and Admins can change roles.